richmond holiday cottage

Interior Design Inspiration

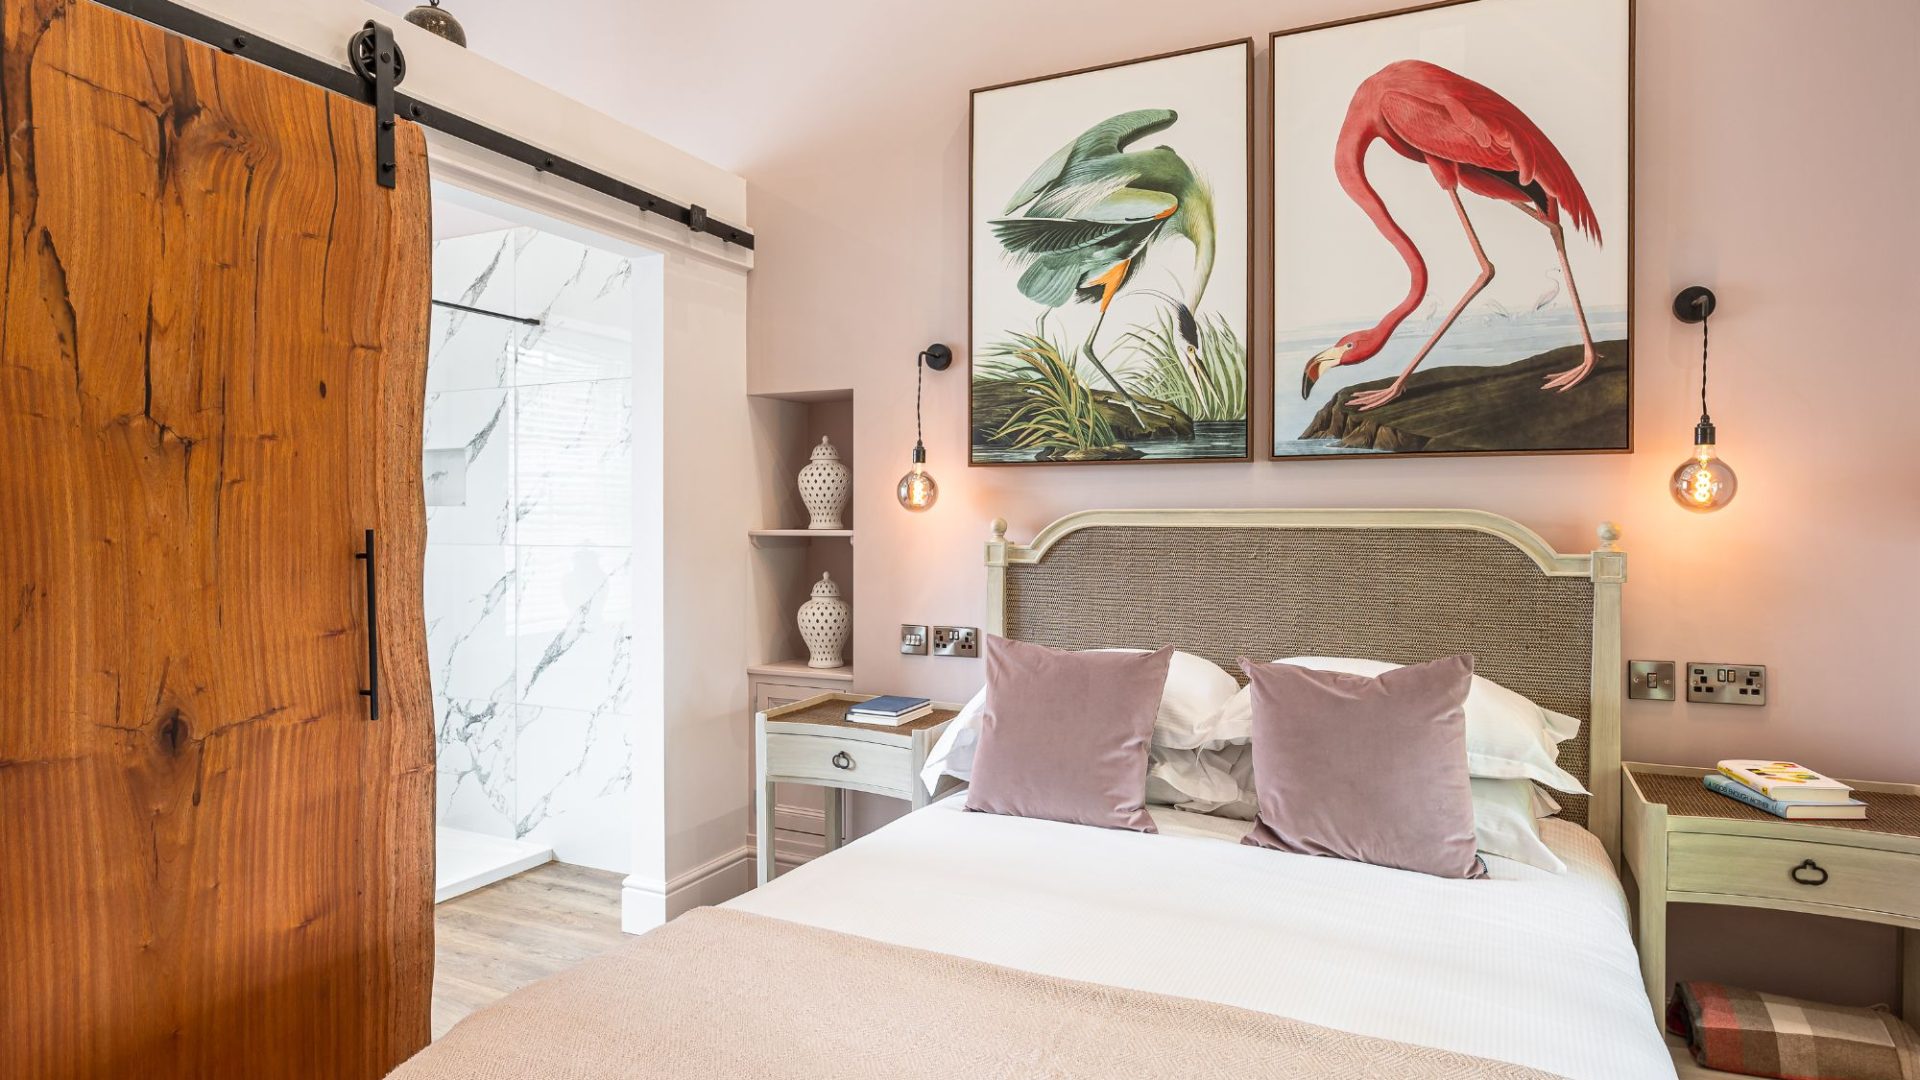
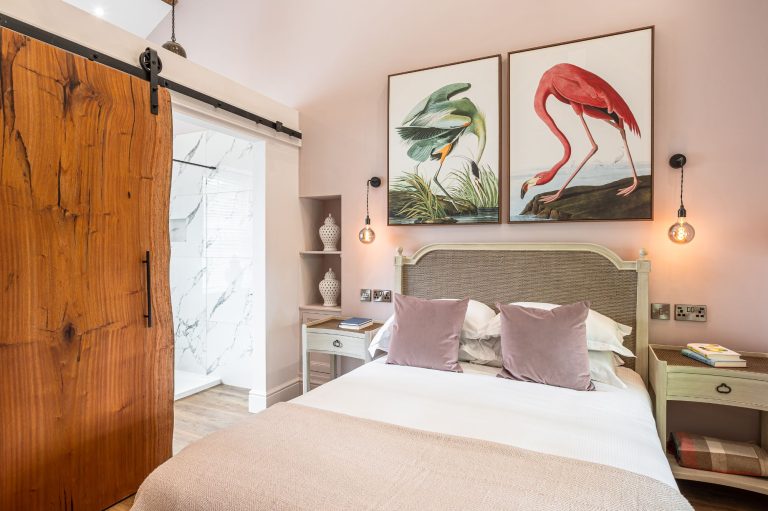
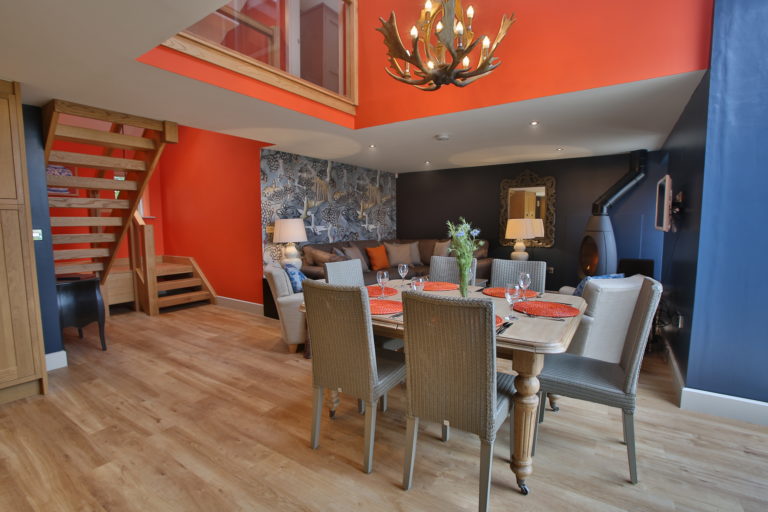
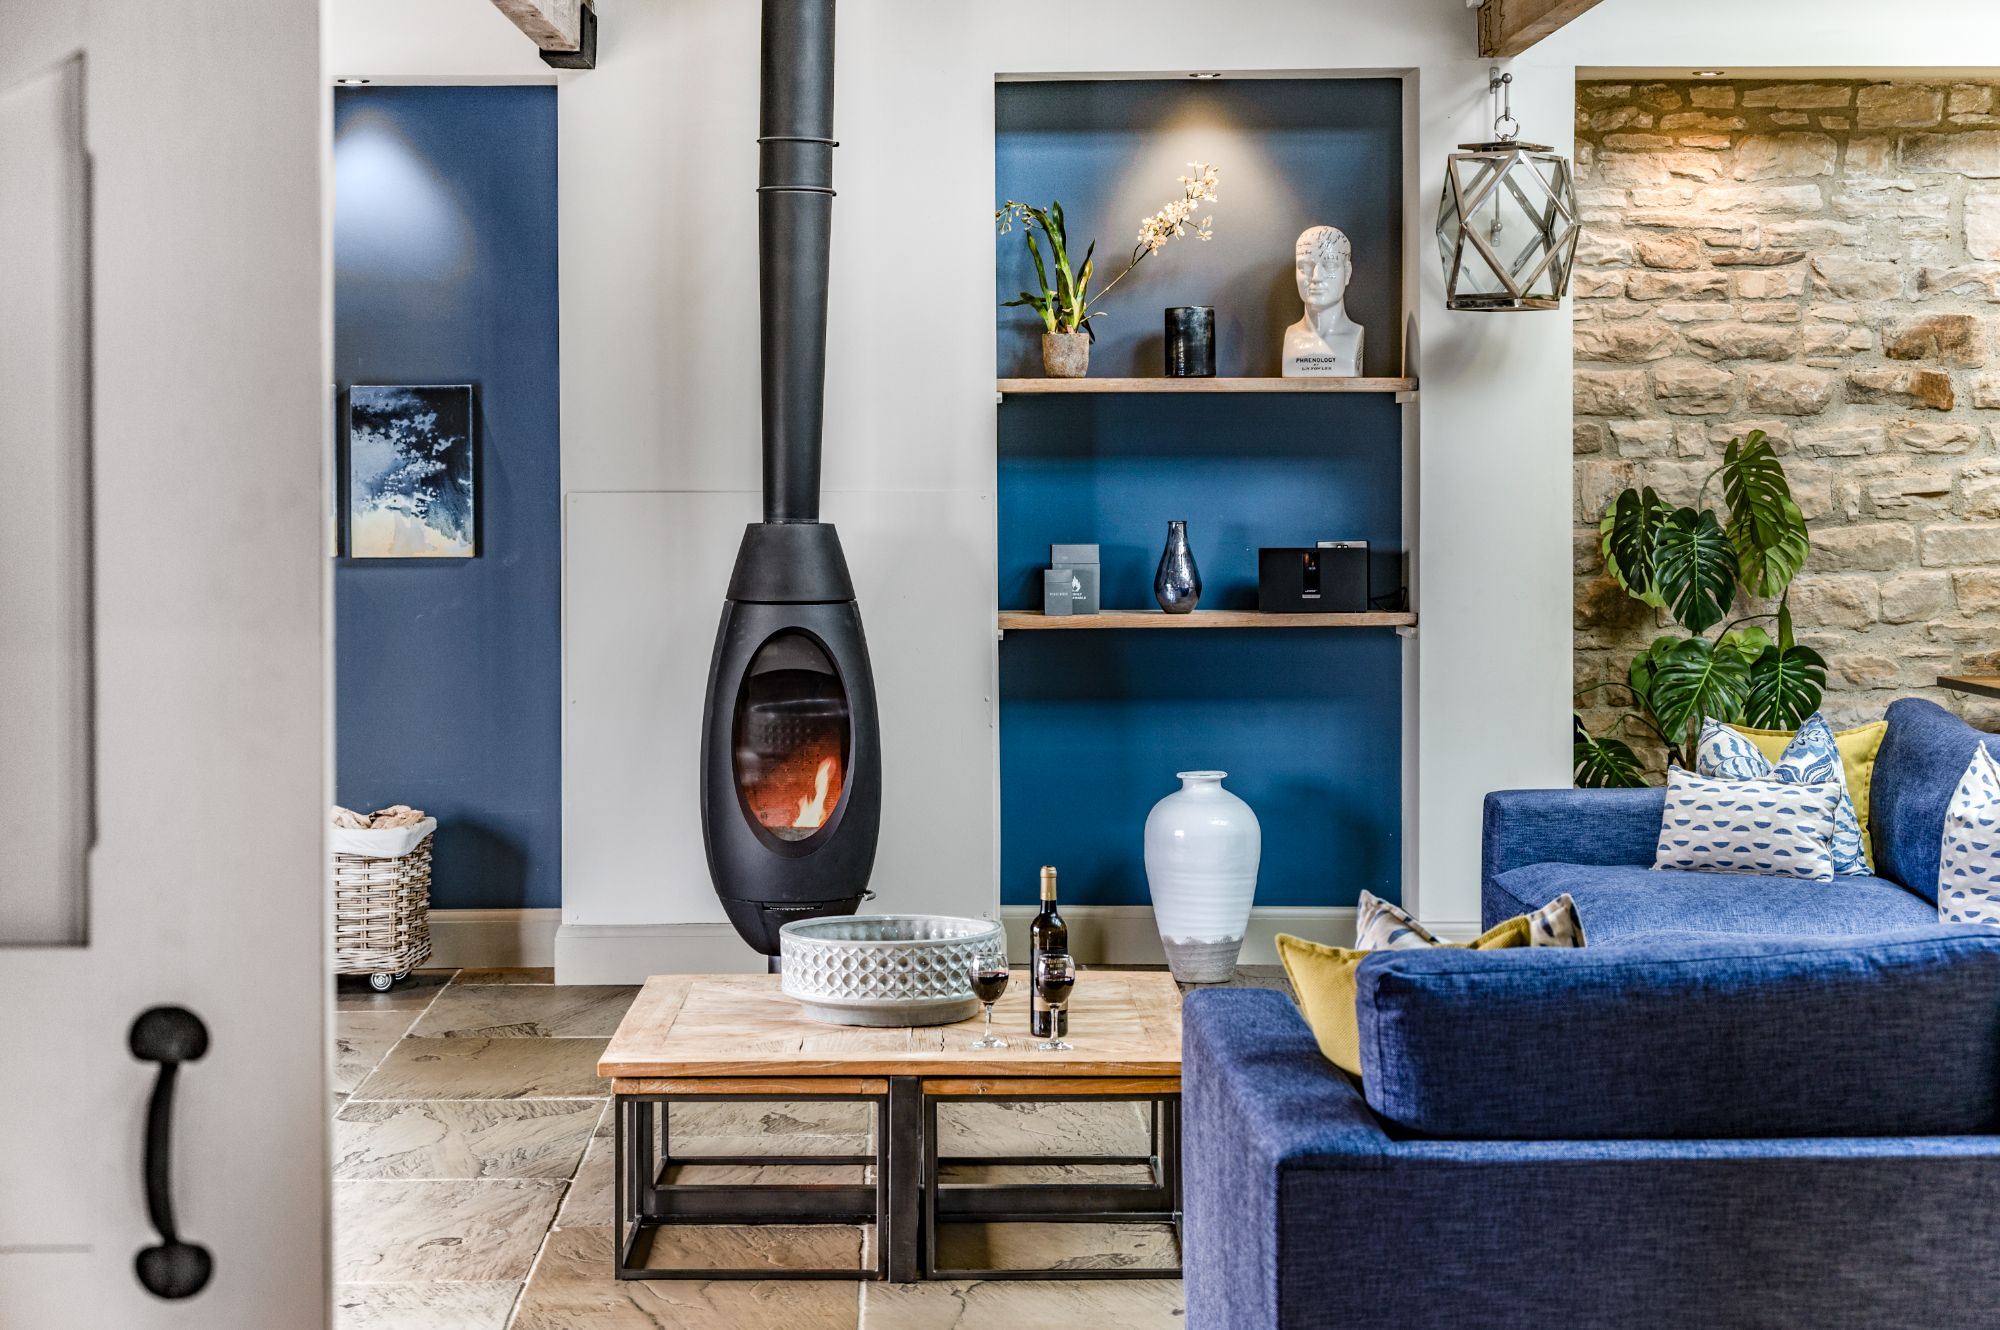
We get wonderful feedback about our holiday cottage interiors. From the decor to the headboards in the bedrooms, we have compliments about many a property. We thought that we would take you through some of our top loves, with advice about where you can purchase some decorative items, or if you are looking to get creative and make your own headboard.

Feel free to take as little or as much inspiration as you wish, and take a little bit of the luxurious Holiday at Home feel with you when you go home.
last minute cottages

A little bit of decoration...

With the sun shining and brighter days ahead, meeting outside with friends and family has become a very special event in the diary, a small celebration into our first steps of freedom!

The team of talented interior designers at Fika Living help us create the most inviting outdoor scene at Brompton Lakes to impress your select group of six. Creating Your Own Garden Getaway…

If it’s a table outside, good dinnerware will instantly set off a plain outdoor tabletop and require very little additional dressing to impress…

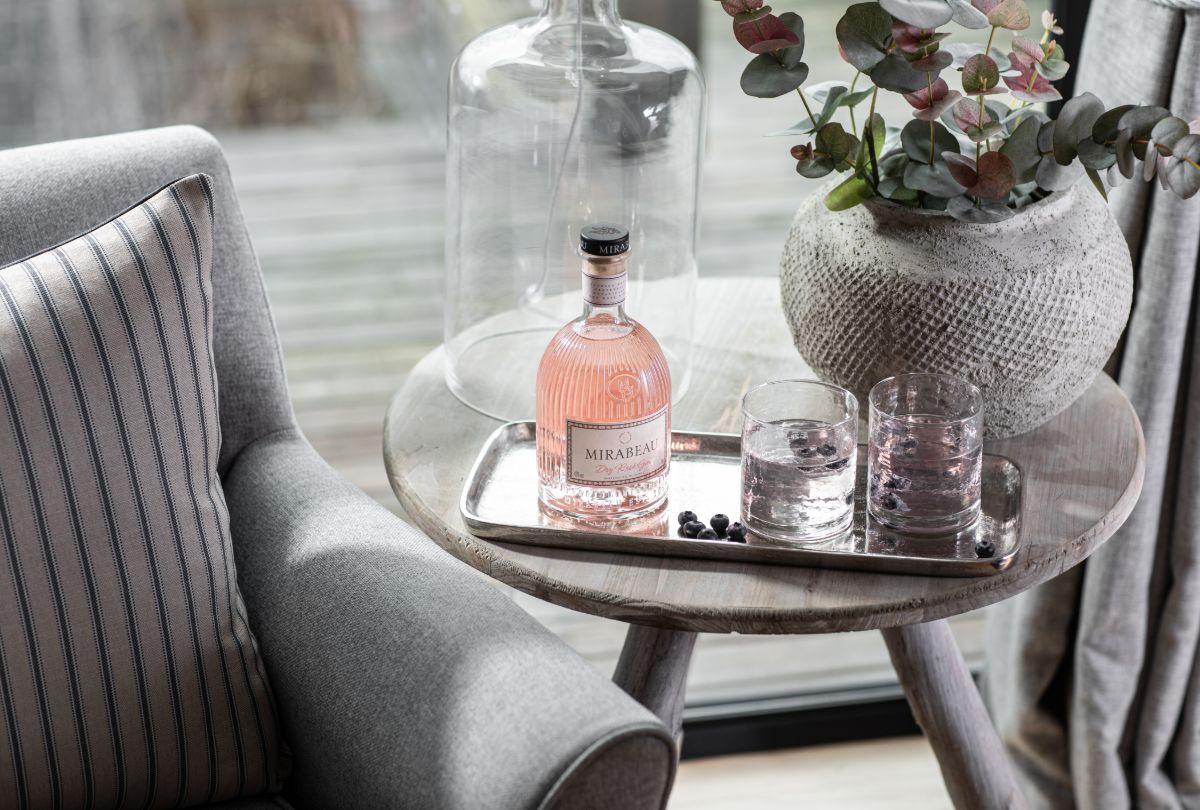
For a more relaxed outdoor setting with friends and family this Spring, adding ambience by candlelight in the way of tea lights and this oversized lantern will help the transition from daylight to dusk…
luxury holiday home yorkshire

This year, bold bright and statement shades are out. The outdoor materials palette is more neutral. Embrace a more relaxed style blending beautifully with the surrounding landscape and connect with nature outdoors with this calmer collection…

The table is usually the focal point for your garden party decorations when gathering around an outdoor dining set. Add height with an oversized textured vase filled with fresh eucalyptus and dress the scene with outdoor scatter cushions and throws. Small side tables are perfect for flowers, nibbles and as a place to rest your rosé.

Transform your outdoor space into a countryside cottage interior daydream – think of tables adorned in rustic touches and natural linens, rose-tinted treats and bouquets of wildflower blooms.

Take a look at some of our latest refurbishments
How to Making Your Own Headboard

Every Holiday at Home bedroom is a unique design, with inspiring interiors carefully created by our team. Along with the super-sized sumptuous beds, we love oversized patterned headboards to create a strong statement, adding colour and texture to your headspace.

So you can create your own sanctuary at home, here is a guide from our in-house designers at Holiday at Home. So get creative and learn how to Make Your Own Headboard…
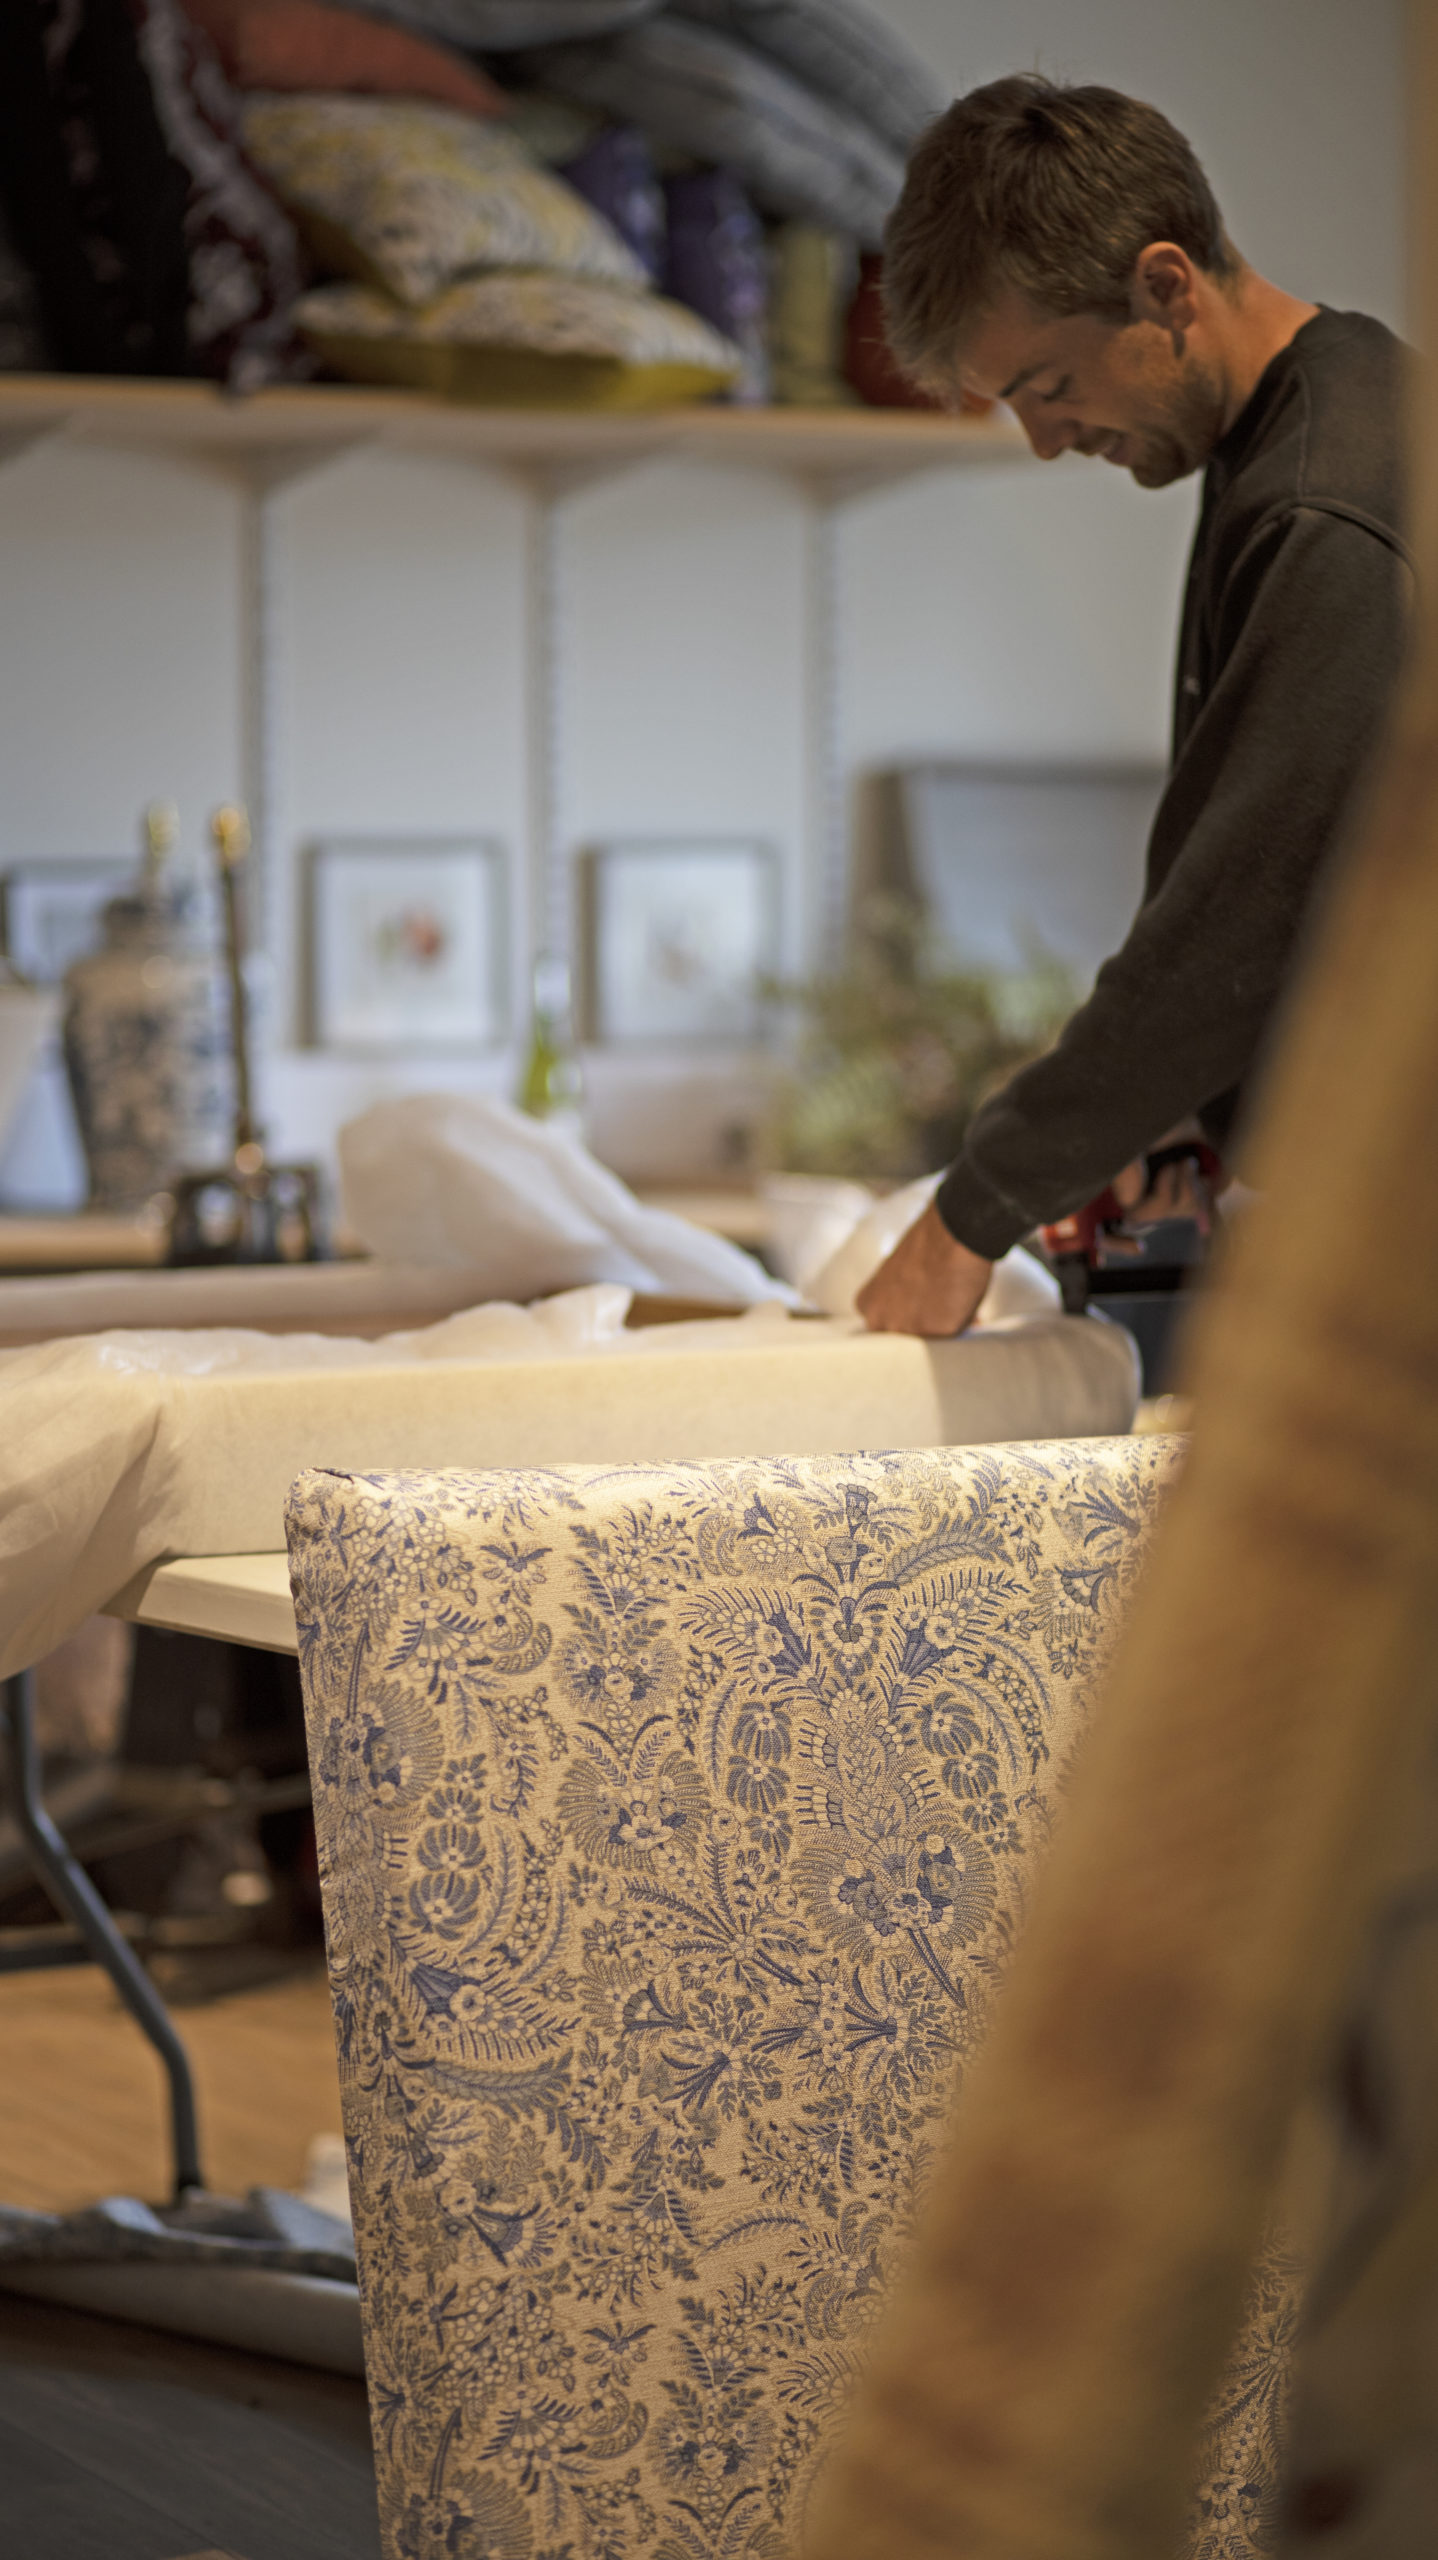
headboard making

The Shopping List...

To make your own headboard you will need:

  • 12mm softwood Ply
  • 2×1 (25mm x 50mm) PSE
  • 2” thick foam
  • 25mm screws
  • M8 ‘D Nuts’
  • 40mm M8 bolts
  • Wood glue
  • extra thick wadding
  • some black backing fabric
  • feature fabric of your choice.

The tools you will need include:

  • hammer
  • hand saw
  • drill
  • allen keys
  • cross-headed screwdriver
  • strong scissors
  • tape measure
  • pencil
  • heavy duty staple gun
holiday at home cottage interior

First steps...

  1. Cut down your plywood board to the desired size for your headboard. Lots of timber merchants will offer a cutting service, and always check that it will fit in your car! We are using Divan beds so we are using the top of the bed base/bottom of the mattress as the starting point for the bottom of the headboard. As we are making headboards for zip and link super-king size beds so we are effectively making 2 single headboards.
  2. Once the ply is cut to size, we need to cut our PSE timber to create a surround. This will give the impression that the headboard is nice and thick without making it heavy. Heavy headboards will sometimes damage your bed base over time. It also means that we can recess the lats which we will use to attach the headboard to the bed base. This means there is less chance of the headboard scratching the walls when moving the bed. The PSE can either be mitred, or attached with a straight cut. No one with see the joint!
  3. Once the PSE is cut, you will need to attach it to the ply. We recommend gluing the two together, then inserting screws through the ply and into the PSE to secure it. Before screwing the two together, mark out where you are going to fix the screws. We recommend every 200mm and 25mm from the edge which will be right into the middle of your PSE. Give all of the corners a tap with a hammer to take any sharp edges away.
stylish cottage interiors

And then...

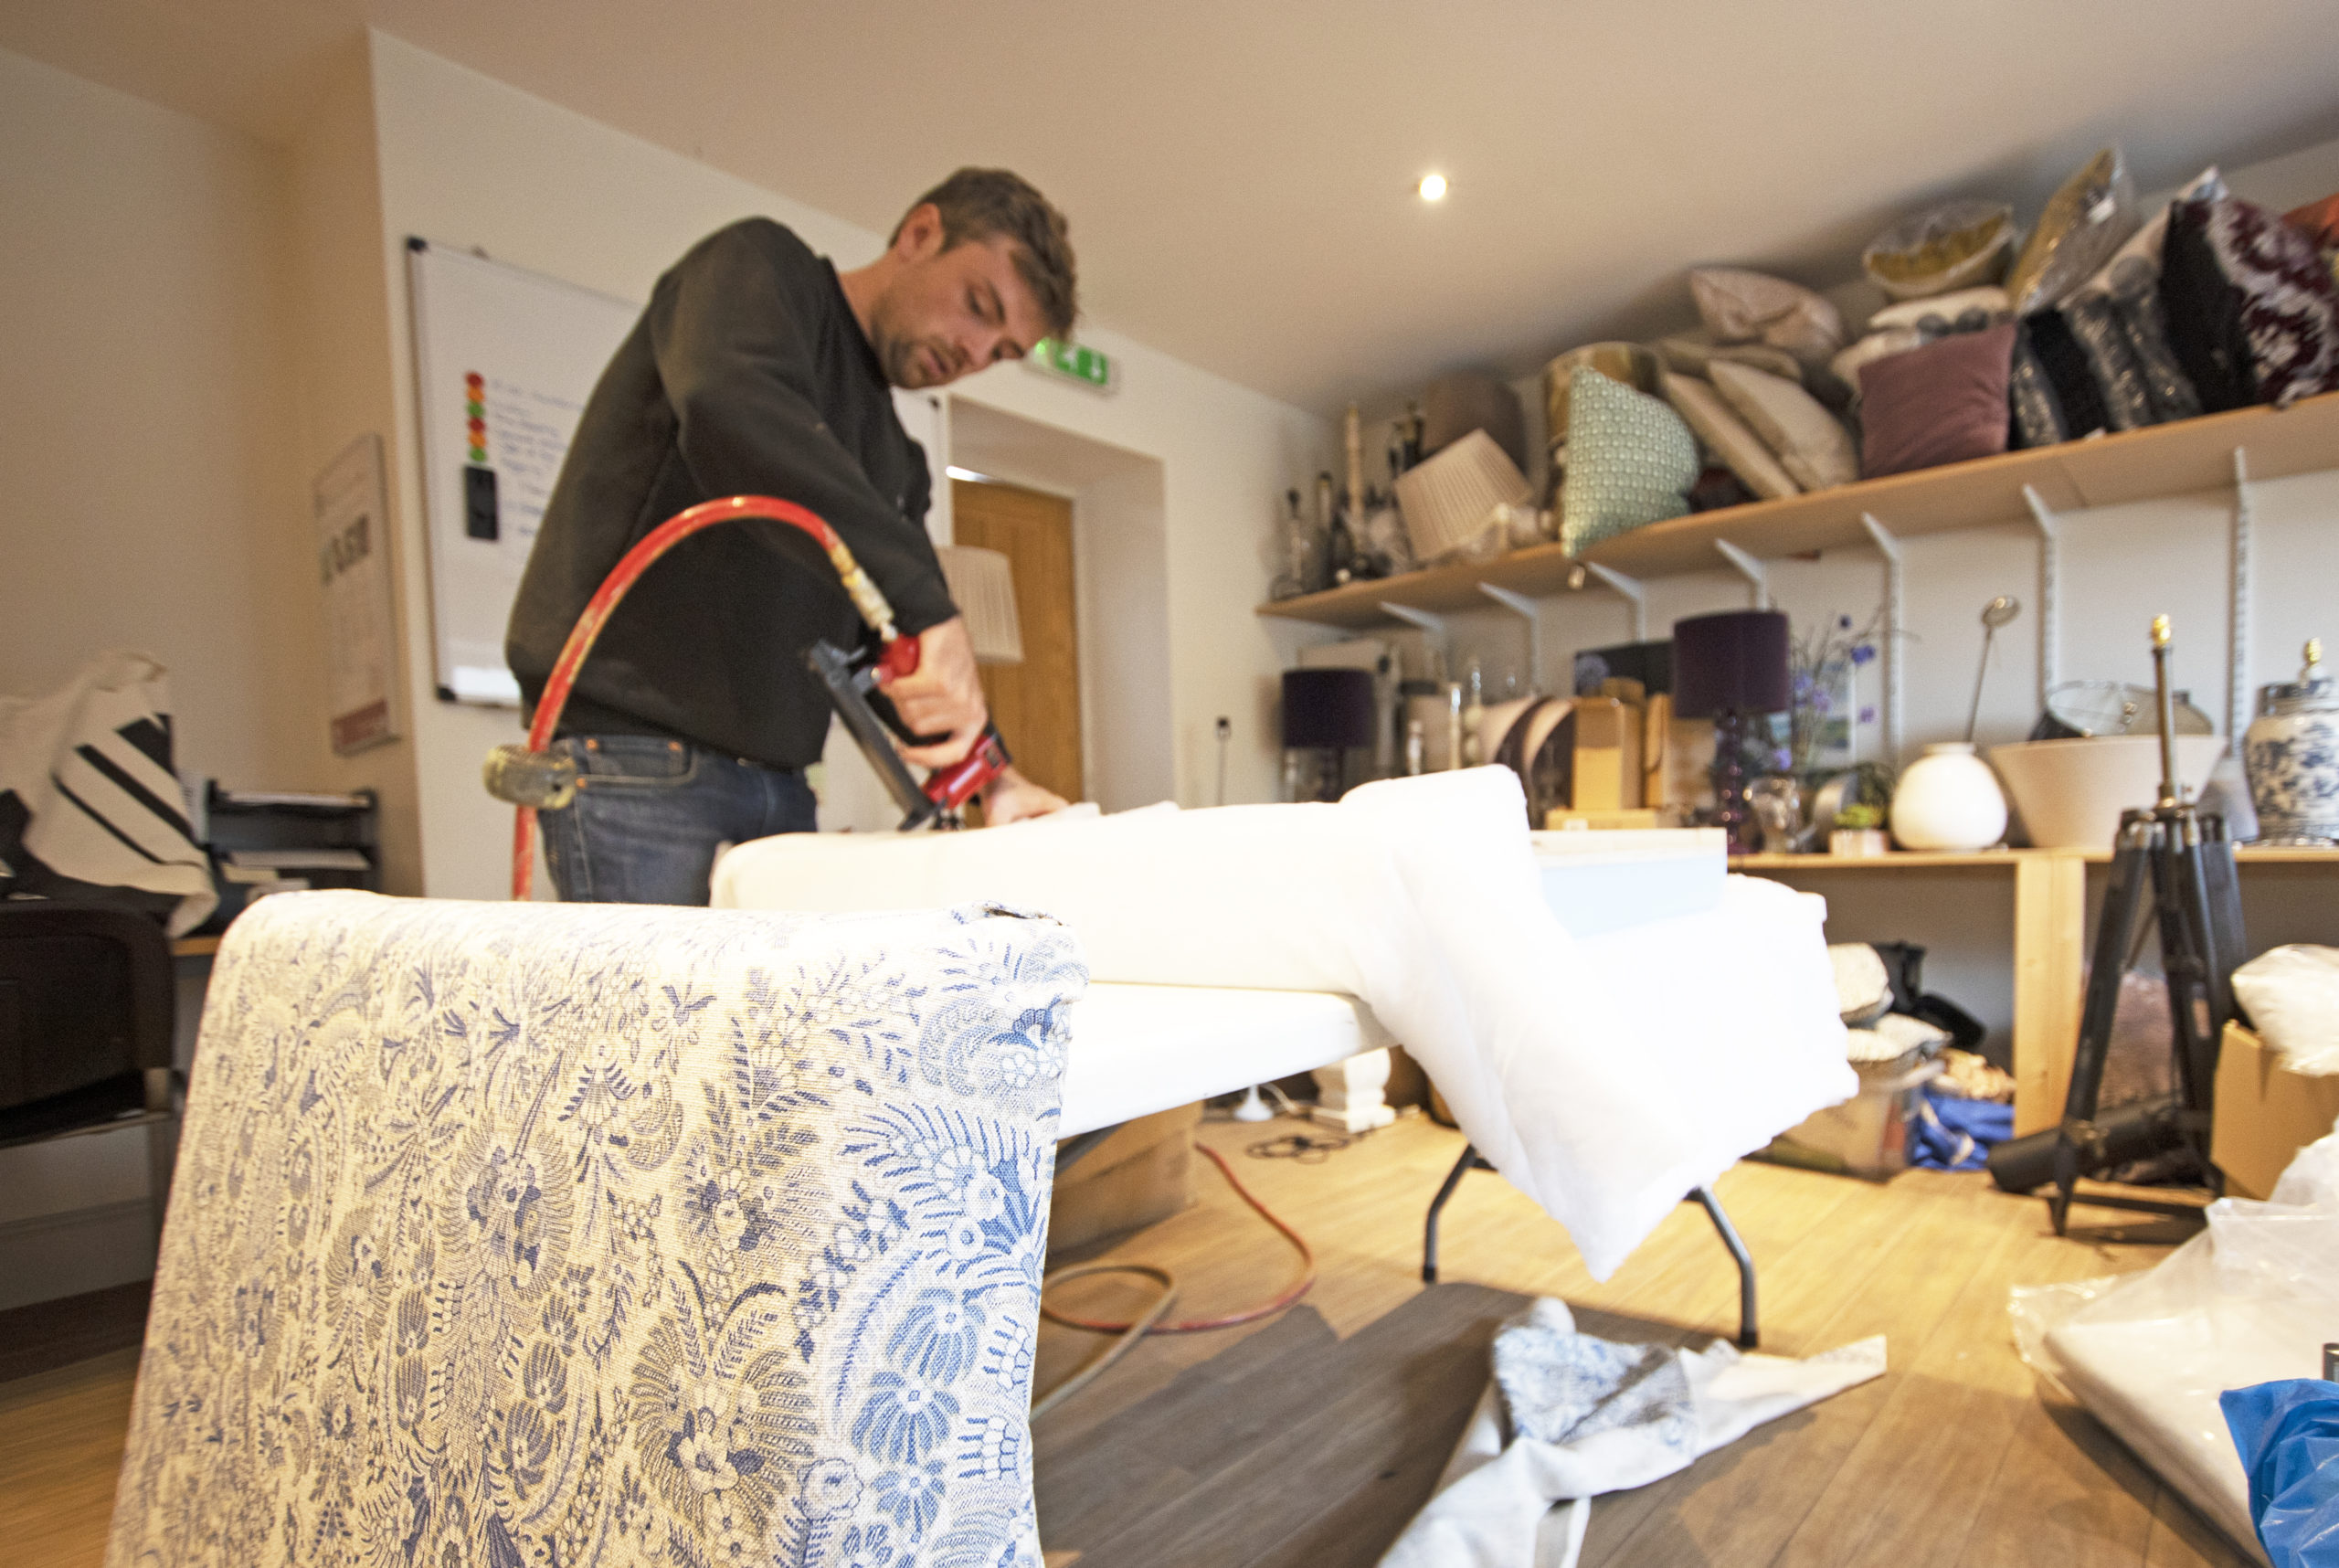
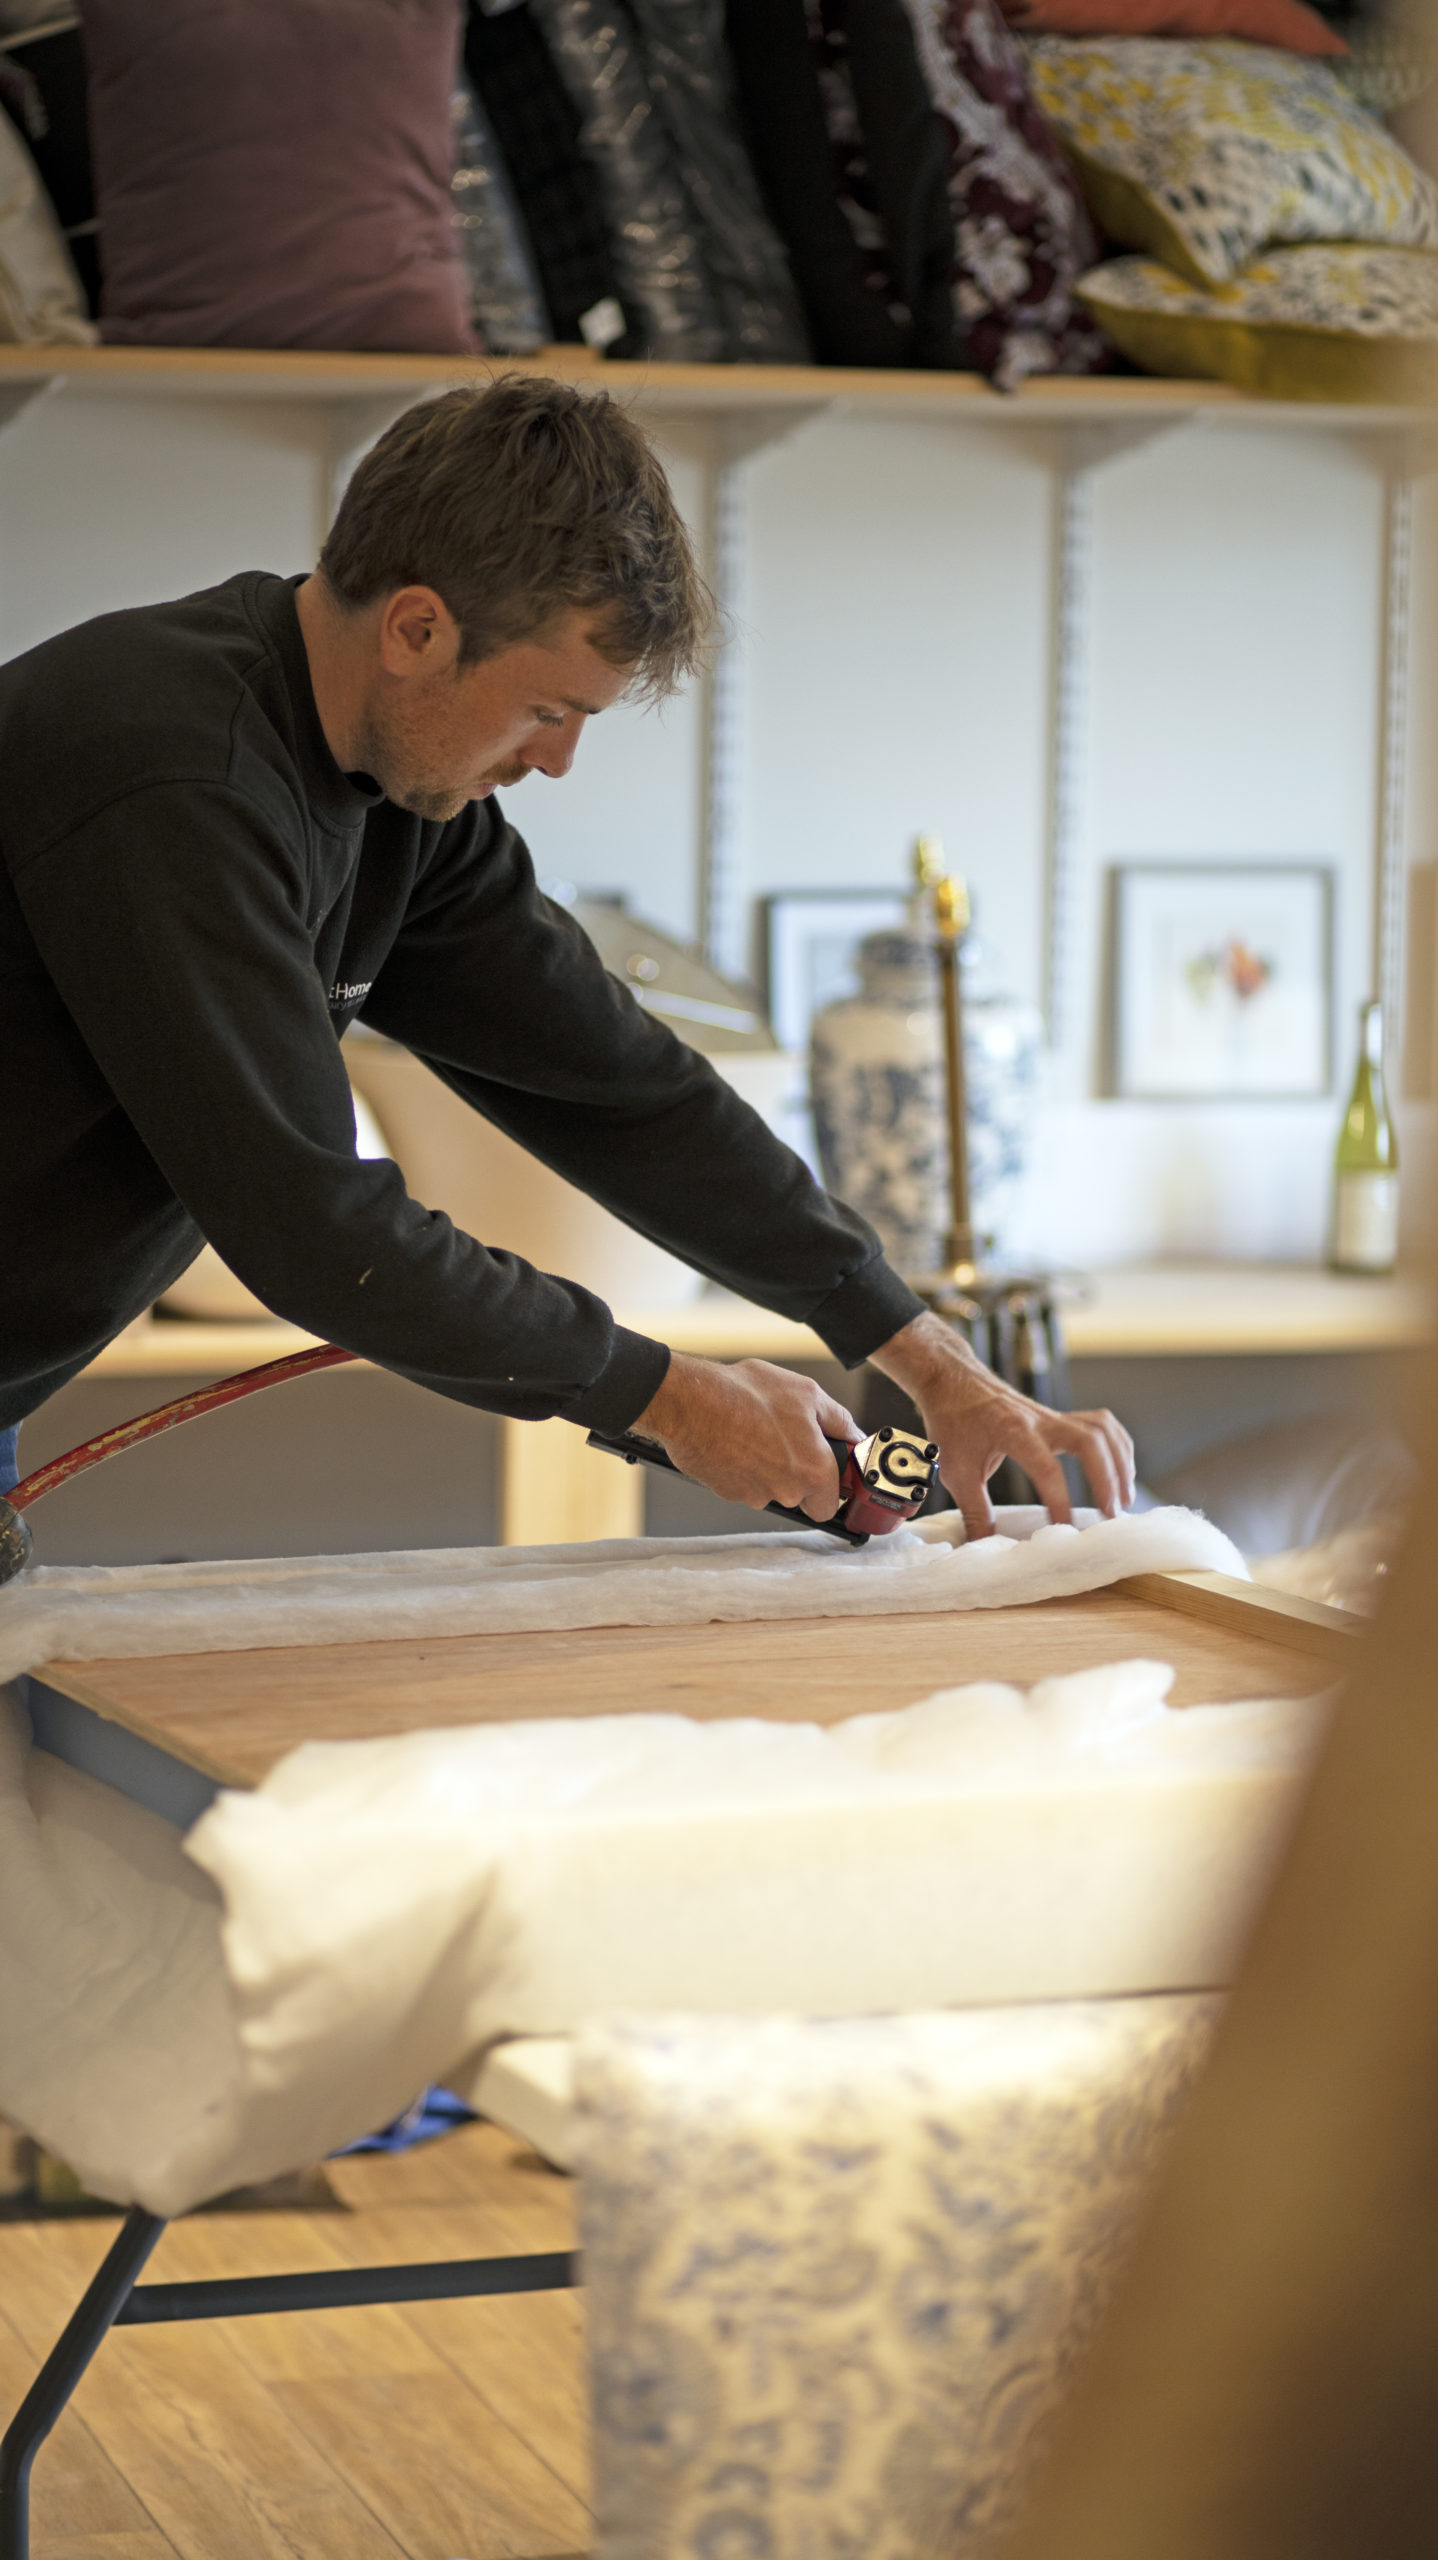
  1. Then we attach the foam. We get the foam cut to size from GB Foam, however any upholstery supplies shop will stock lengths of foam. If you are buying off the shelf, you will need to cut the foam to size. We usually would measure the thickness of the mattress and ensure that the foam starts from the top of the mattress. Once your foam is cut, spray your plywood board with contact adhesive and attached the foam to the board ensuring that your edges are flush. The next step is to wrap your headboard in wadding. Layout the wadding onto a flat and clean surface. Place your headboard on top with the foam facing toward the wadding. Wrap your wadding around onto the PSE timber, ensuring that it is tight but without stretching the wadding. We then need to staple the wadding to the PSE. We recommend adding a staple every 100mm. Trim any excess.
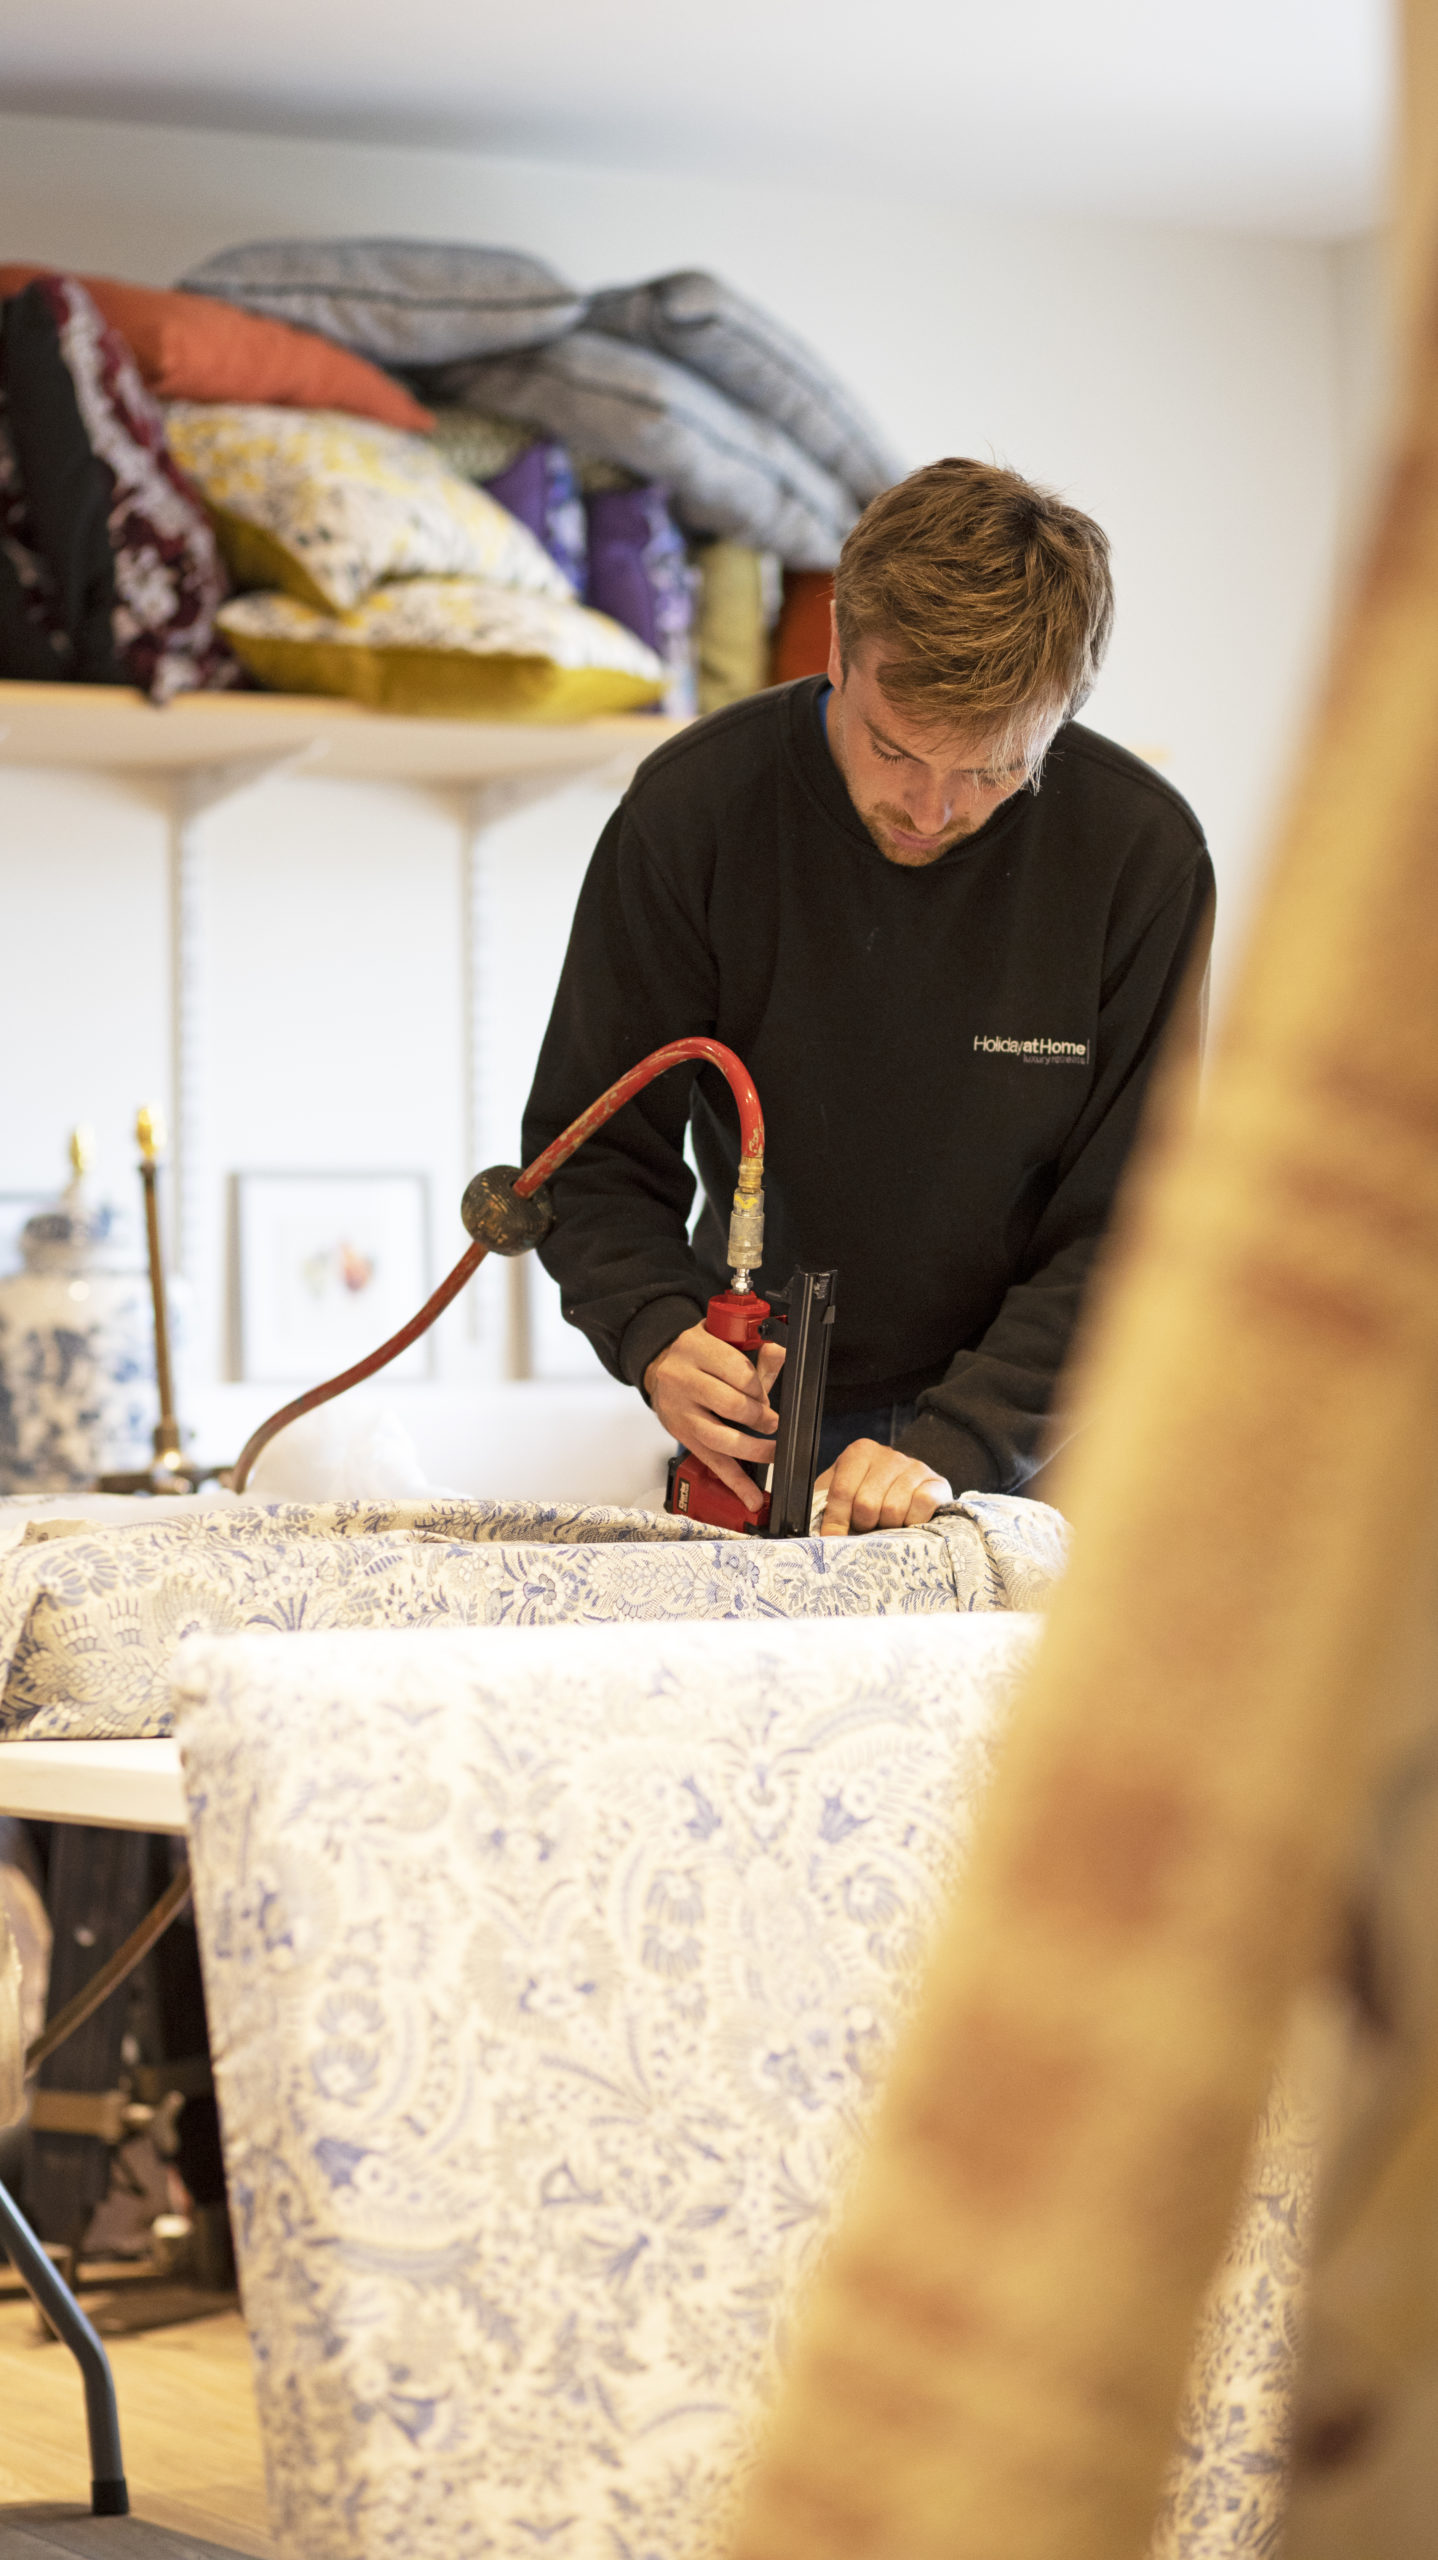
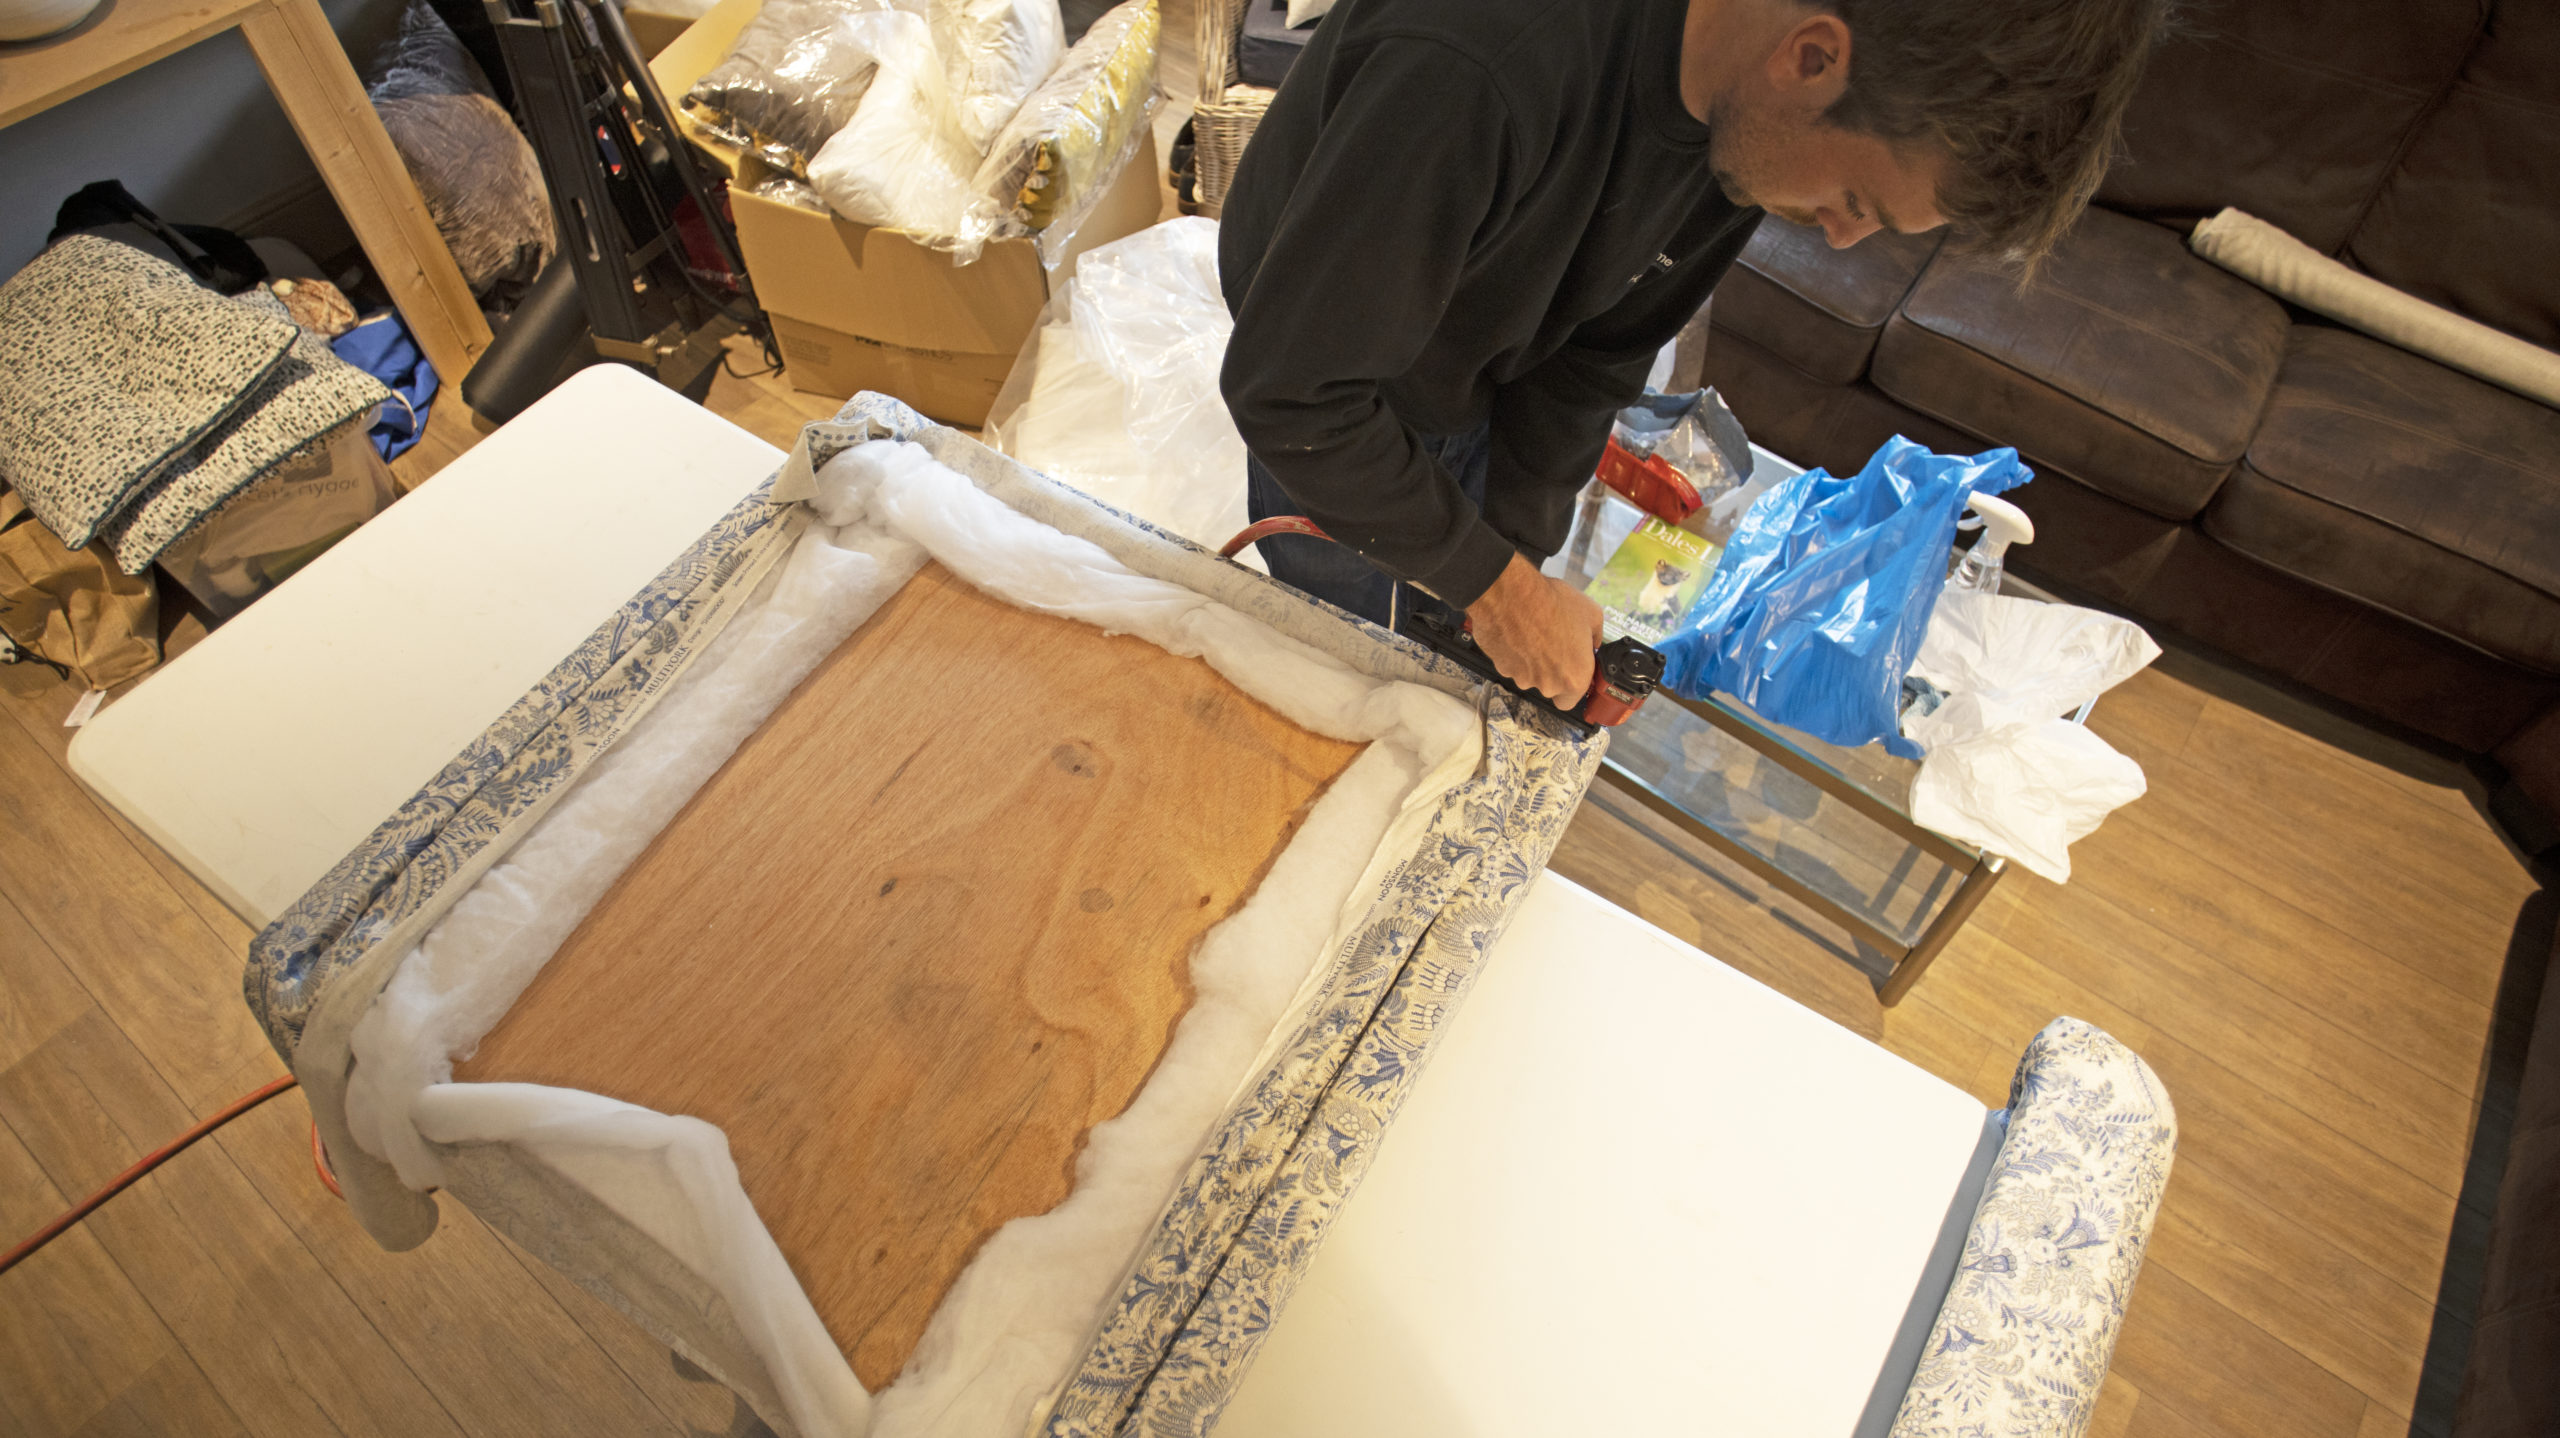
  2.  Roll your fabric out onto a flat clean surface. Place the headboard onto the back of the fabric with your foam edge facing down. Ensure that you position any patterns to ensure that they are exactly where you want them on the headboard. Wrap the fabric around the PSE edge and begin to staple the fabric approximately 20mm from the edge. We suggest inserting a staple with a 20mm gap between each. It is key that the fabric is wrapped really tight and avoid any creases or lumps from the wadding or foam. Work your way along each vertical edge before stapling the top horizontal edge. On the top edge, work your way from the centre out towards the corners.
cottage interior styling

Next steps...

  1. To finish the corners, fold the top edge fabric over the top of the sides to create a nice, neat fold.
  2. Measure the width of the threaded grommets on your bed to which the headboard is going to be attached. We will insert the ‘D Nuts’ at the same width. This will ensure that our lats will be at the correct width. We attach 4 ‘D Nuts’ per headboard. For our headboard, these are spaced 61cm apart from the centre of the headboard and the holes are drilled at 20cm and 40cm from the bottom of the headboard. The ‘D Nut’ packet will reference the size of the pilot hole required. You can then thread the ‘D nut’ into place using an allen key.
  3. Then cut the mounting lats to size. We make these out of 2 x 1 PSE timber and usually measure the thickness of the divan base plus 45cm to fix to the headboard. The bed base is 30cm thick and we want 45cm to fix to the headboard, so we are cutting ours to 75cm long. We then drill a 9mm hole at 5cm and 25cm from the top of the PSE which will line up with the ‘D Nuts’ that we fixed to the back of the ply. This will allow us to use the m8 bolts to fix the lats to the back of the headboard. If possible, recess the bolts into the PSE and make flush.
cottage interior design

And Finally...

  1. Before attaching the lats, cut the black backing fabric to the size of the back of the headboard with a 50mm overhang on each edge. Fold the edges of the backing fabric and neatly staple along the edges. The backing fabric should finish around 5 – 10mm from the edge of the headboard and this will cover any of the cut edges of the fabric and wadding whilst leaving a neat and tidy finish. You should not be able to see the backing fabric when the headboard is mounted to the bed.
  2. Fix the mounting lats to the headboard. Measure out the position of your fixing points on the bed and drill holes in the required position. You should then be able to bolt your headboard to the bed. Our beds have M8 grommets so we use the same bolts to mount the headboard to bed as we used to mount the lats to the headboard. Again, if you can recess the bolt heads into the PSE, it will reduce the risk of damaging the wall behind the headboard.

Click here to see a headboard being made in full. Our director, Will, can be seen here following each of the steps set out above.

21 Unique Lodges at Brompton Lakes

Rosie Mennem is a talented artist with considerable experience. Her career began selling hand-painted furniture to the General Trading Company in Sloane Square, leading to varied commissions including painting murals in a palace in Prague and painting shoes for Jimmy Choo at the Oscars. Her most recent commission is a wallpaper and fabric design for Zoffany.

Once featured in Vogue’s ‘Most Stylish Interiors’, Rosie was the talented designer behind many a gorgeous lodge and cottage interior at Holiday at Home. Rosie designed twenty-one unique luxury lodges with 66 bedrooms at Brompton Lakes, as well as three Yorkshire holiday cottages at Holly House Farm and 30 Frenchgate; a 5 bedroom Georgian townhouse for the Holiday at Home collection.
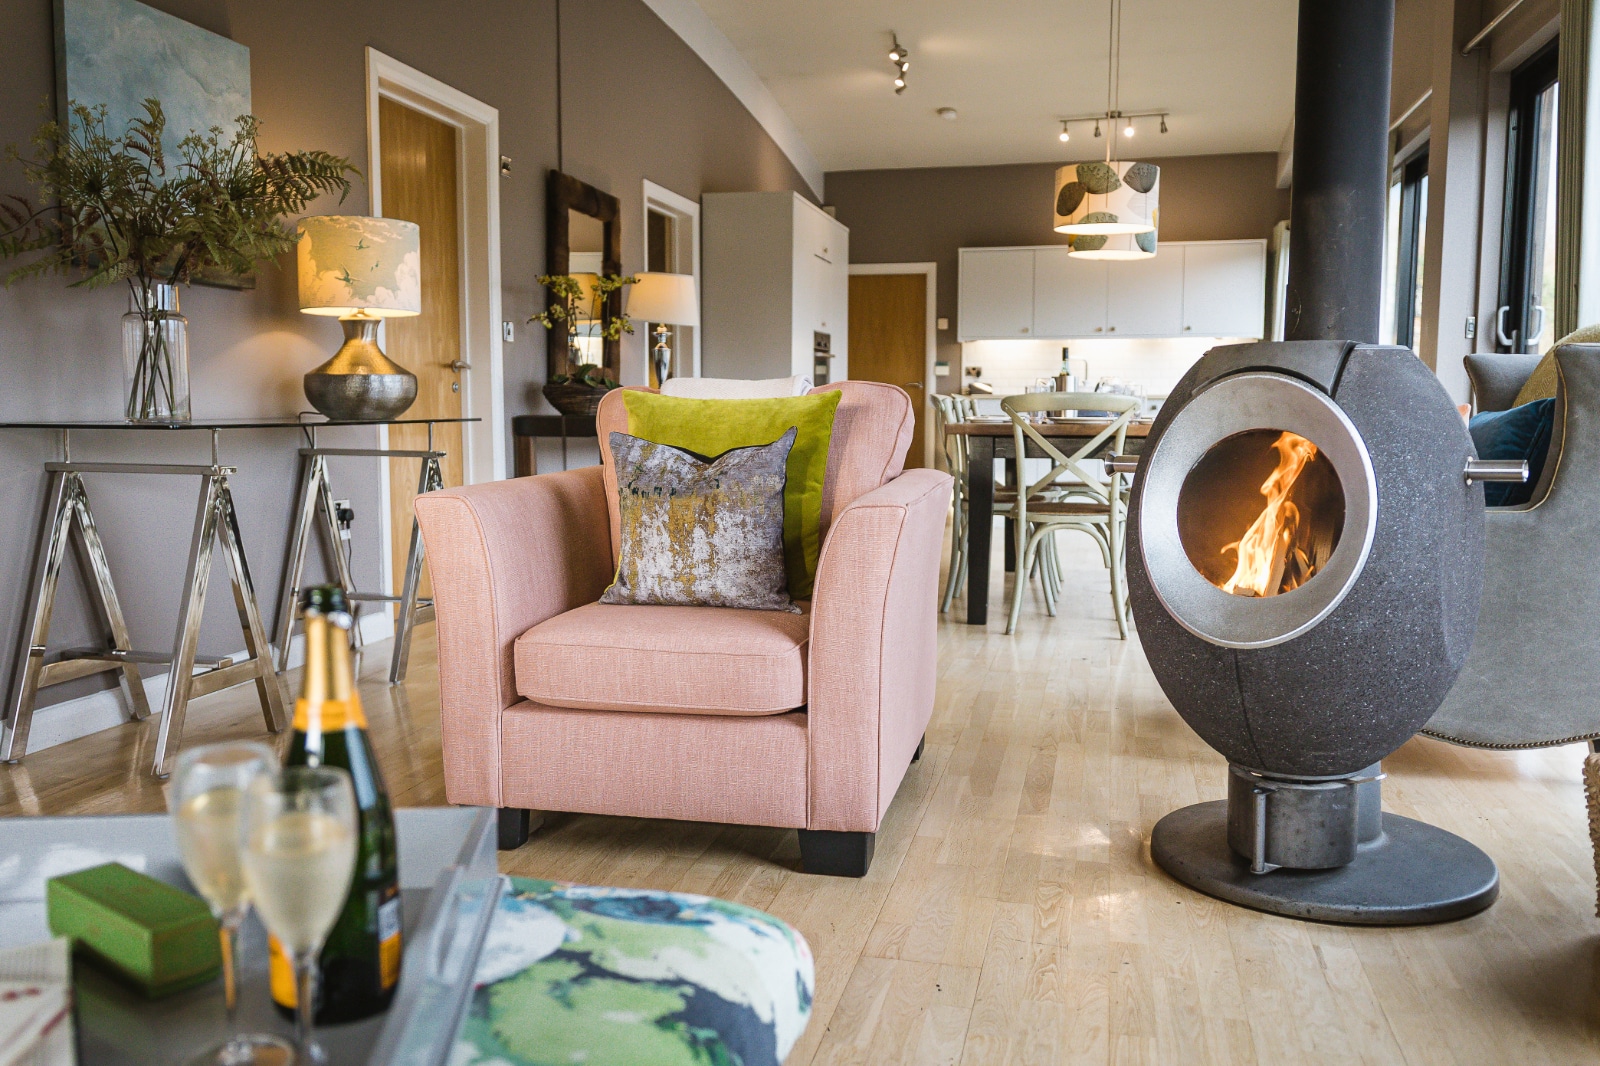
We asked Rosie a few questions about her inspiration

luxury cabins yorkshire

Brompton Lakes

‘The brief for Brompton Lakes was to create luxury holiday accommodation, creating an individual look for each lodge with a more urban style. The idea was to create more of a retreat, so I wanted to create inspirational interiors but also those that you could relax in. I try to source a lot of furnishings locally and there are a few totally unique antiques. I also hand-painted much of the furniture and painted canvasses for the rooms, which does create the special bespoke look of Brompton Lakes.’
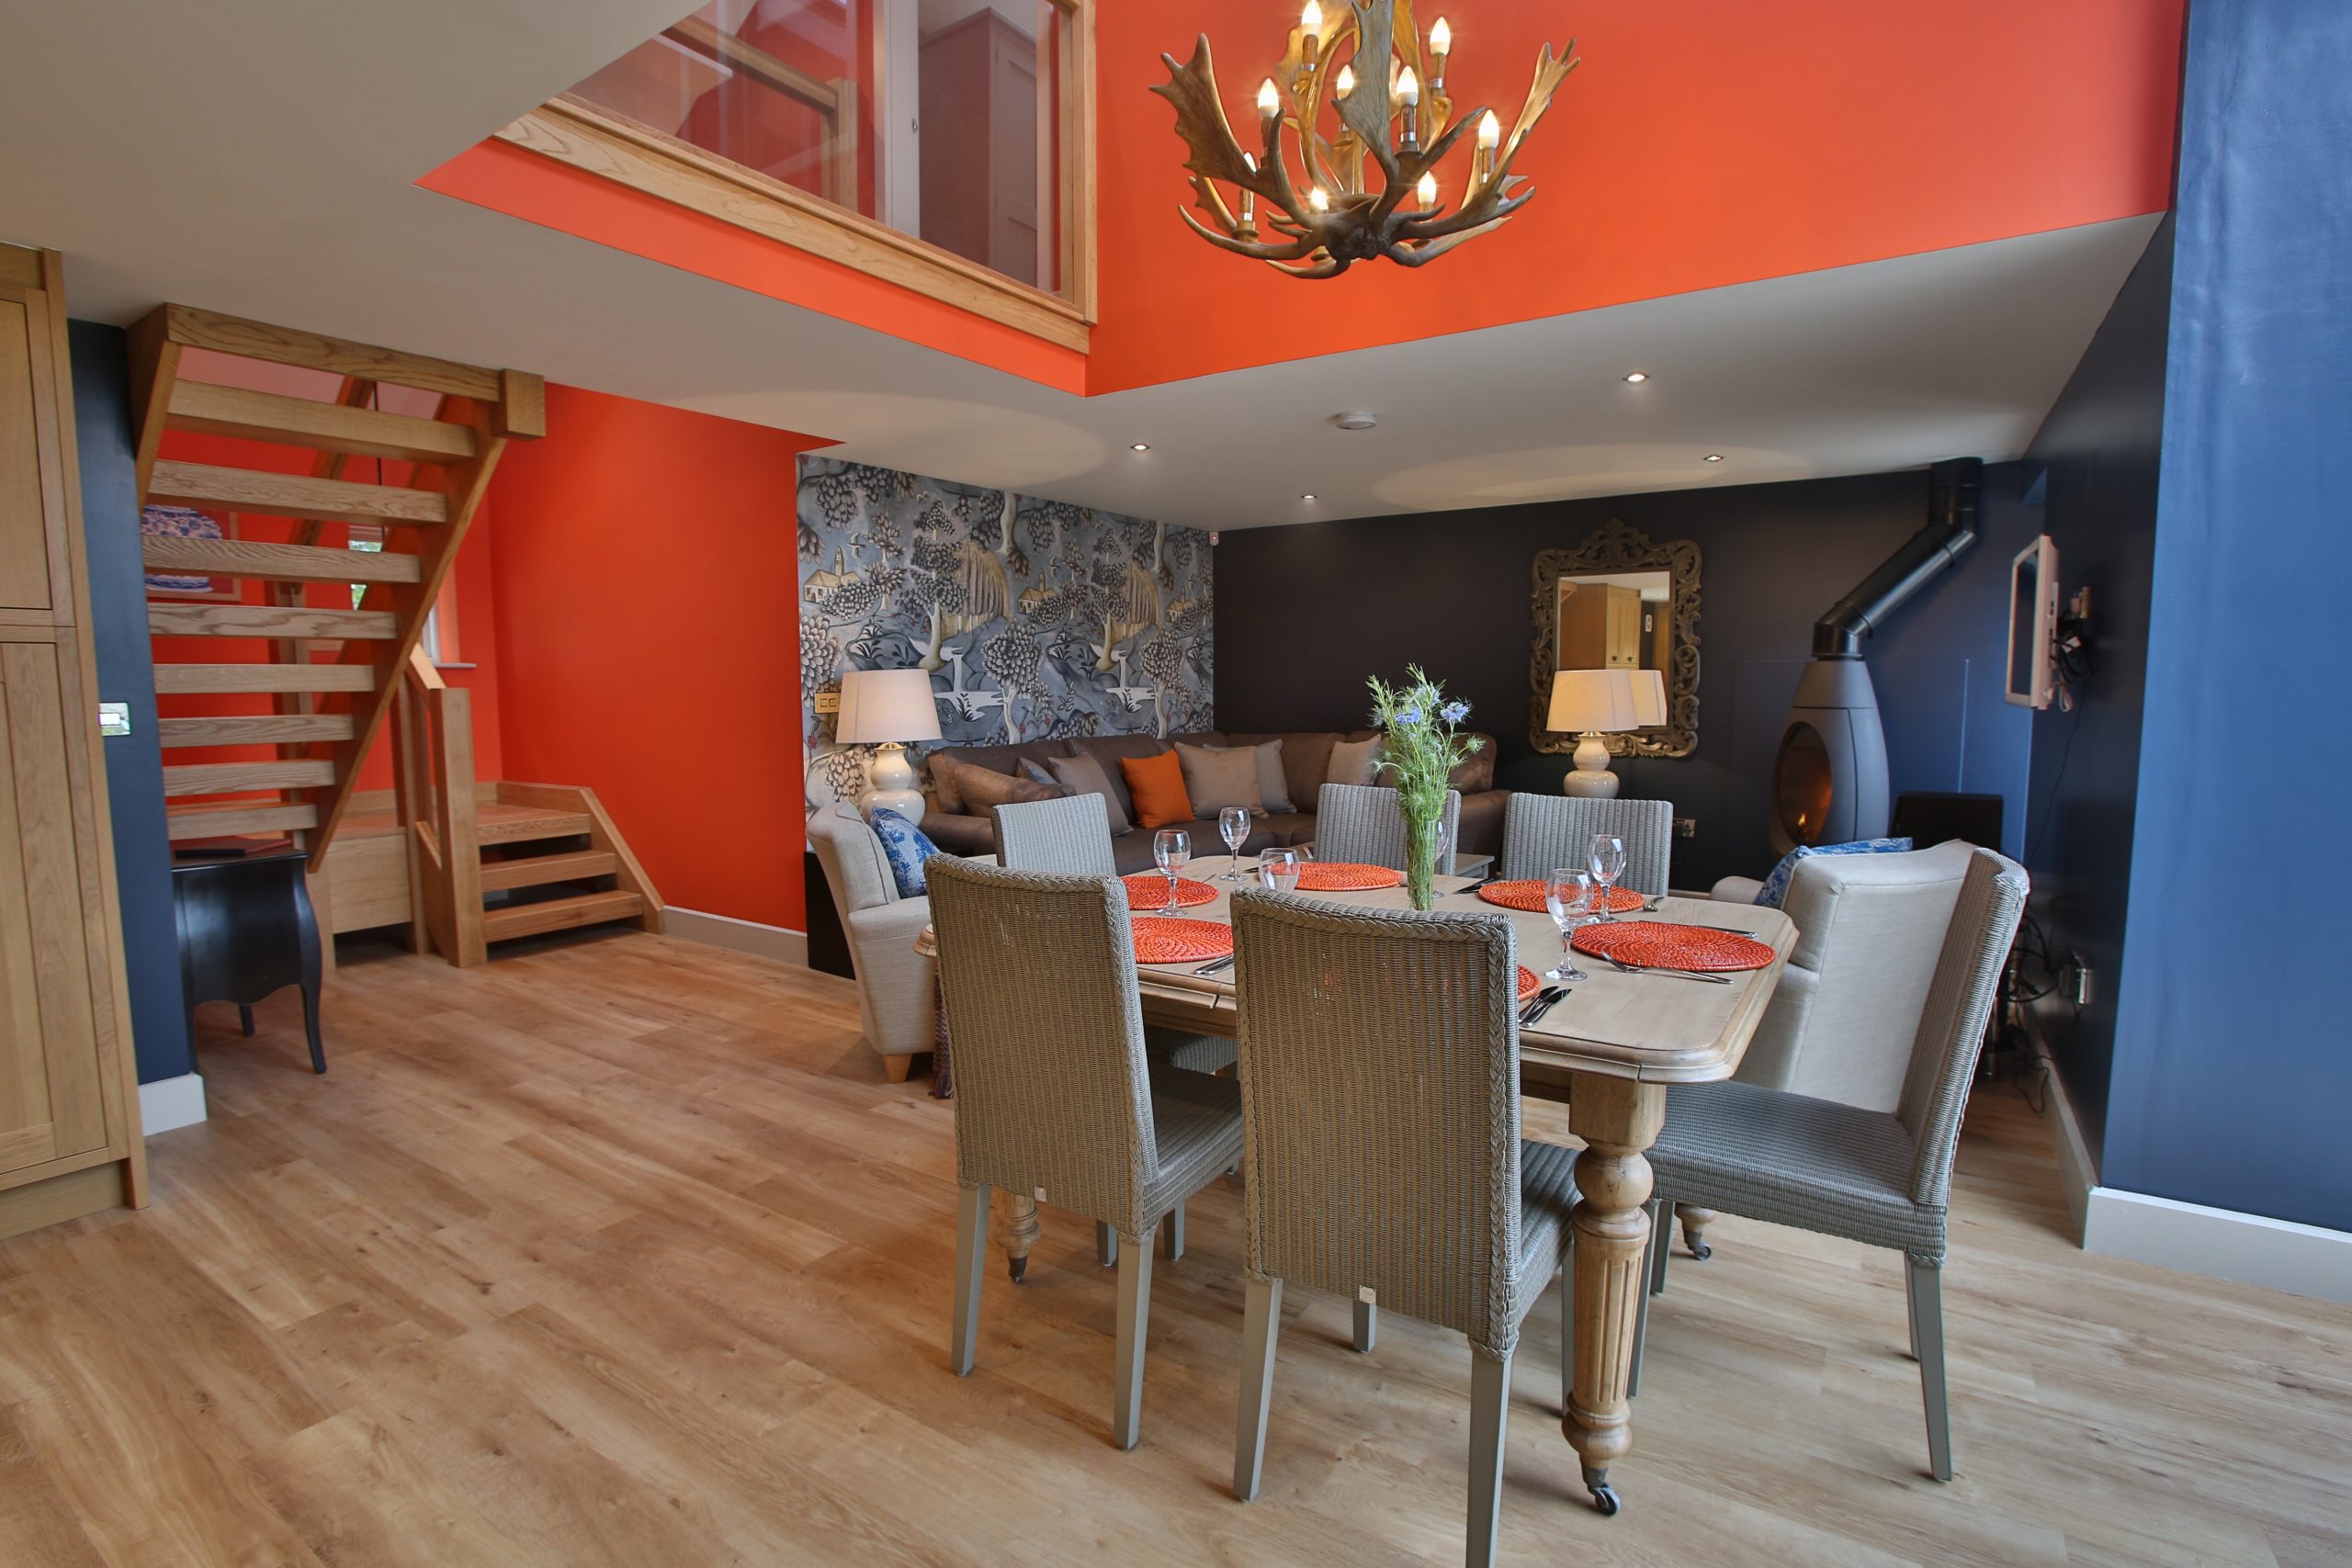
holly house farm

Holly House Farm

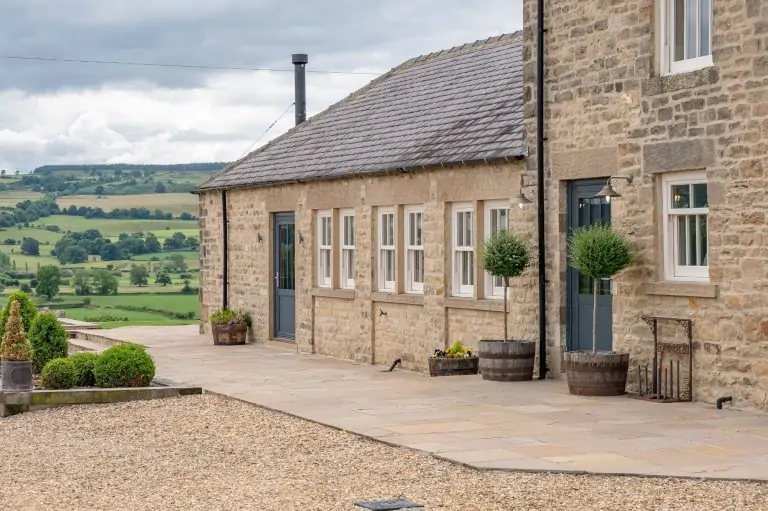
Holly House Farm was derelict when purchased so we had to start from the drawing board. We wanted the outside to keep its wonderful North Yorkshire stone farmhouse character but for the cottage interior to be more contemporary, so that people could enjoy in luxury. My favourite piece is the wallpaper in Georgia, which is my own design for Zoffany, which started as a canvas in my studio!’
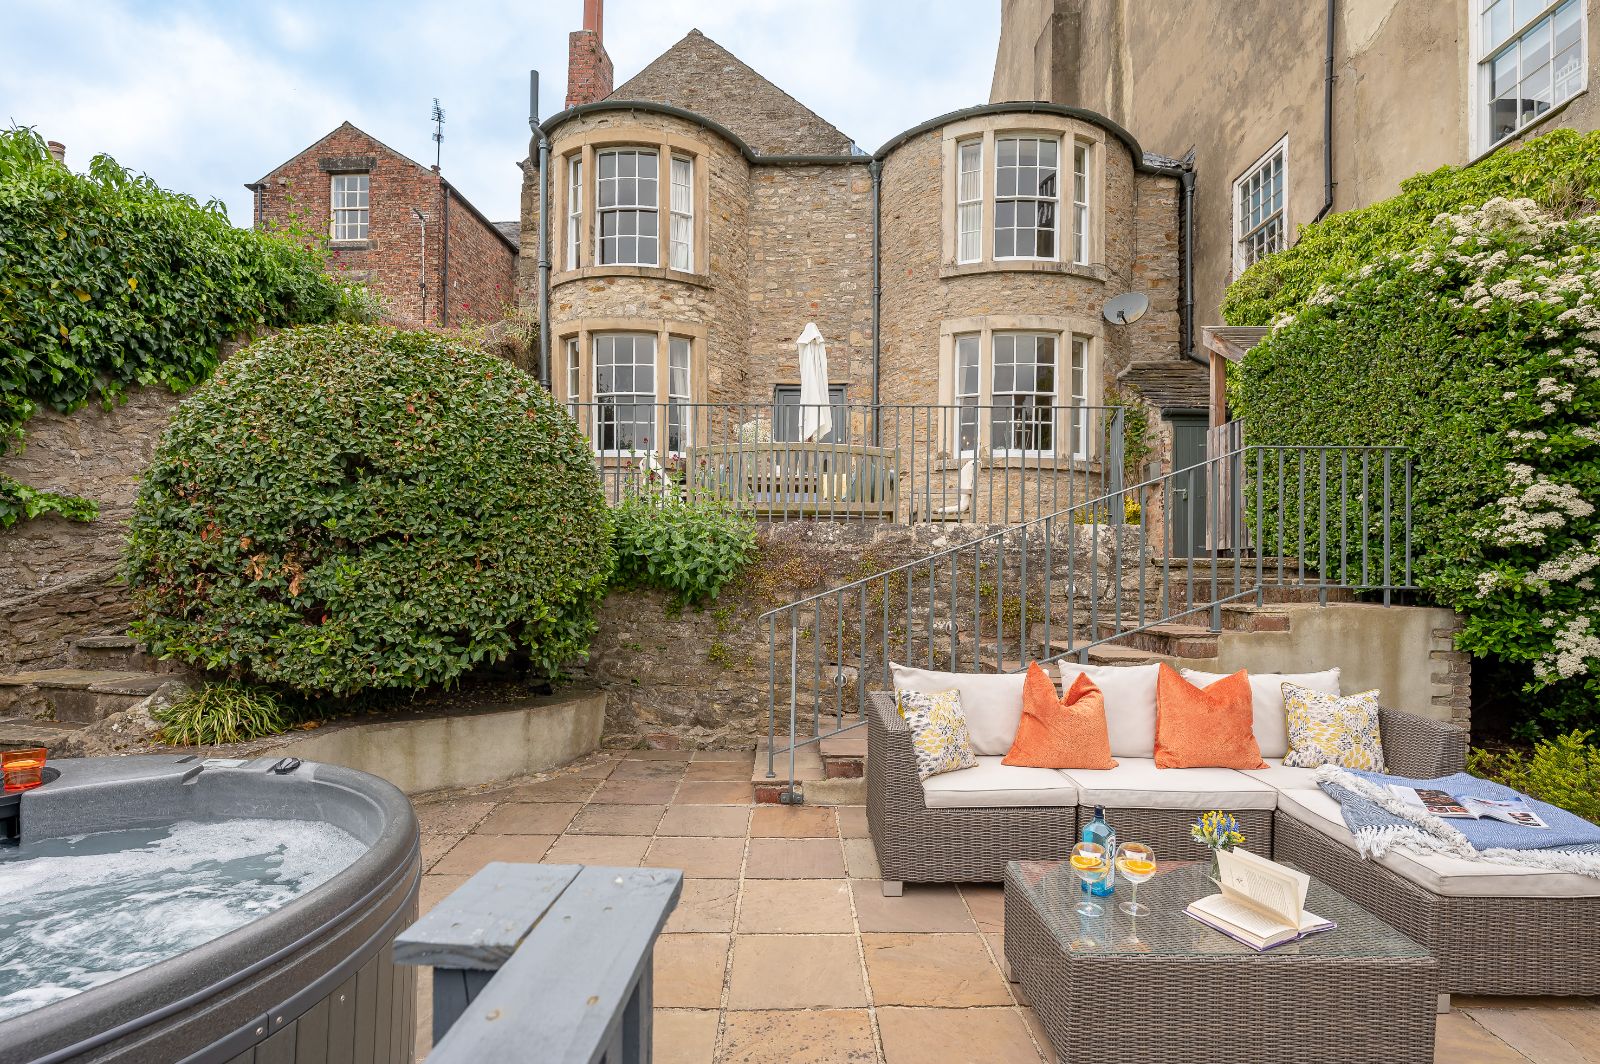
cottage with a hot tub

30 Frenchgate

‘30 Frenchgate is very different from my other projects, being in the centre of Richmond. We wanted our guests to enjoy the benefits of being able to walk into the centre of this historic town but to return to an elegant town house which offers very spacious living and a tranquil garden. My main focus was to keep the essence of a Georgian building but with more contemporary touches for modern family living’.
You may also enjoy reading...

Brompton Lakes North Yorkshire

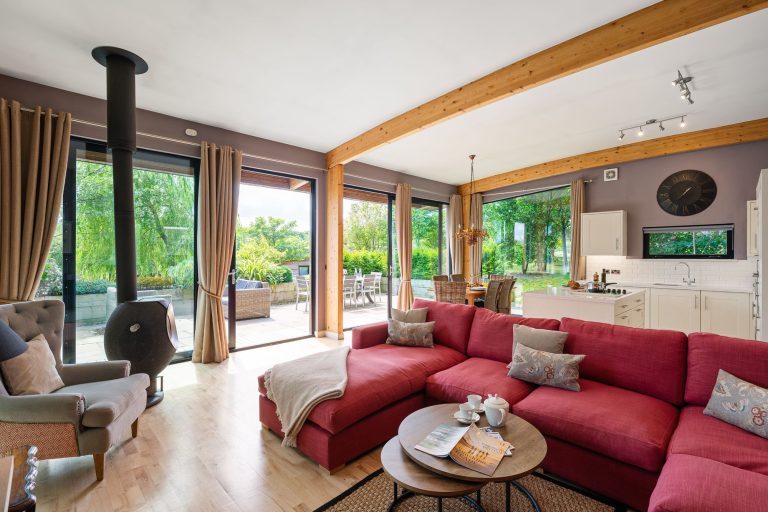
Our Latest Property Refurbishments

Take a look at our most recent renovations in a few of our well-known and loved properties…
Read More

Yorkshire Holiday Cottages

Holiday cottages to rent in Yorkshire

Explore our handpicked collection of luxury Yorkshire holiday cottages to rent with unique features to impress your group.

Read More

A Hot tub break in North Yorkshire

La transformation de Porte House

Holiday at Home talks to the owner of Porte House about her transformation of a three-bedroom Georgian townhouse into luxury accommodation, all managed from over 3400 miles away…

Read More